|
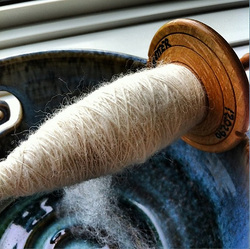
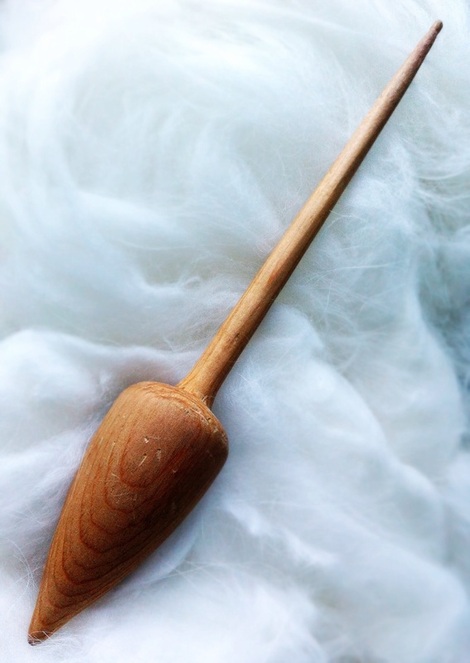
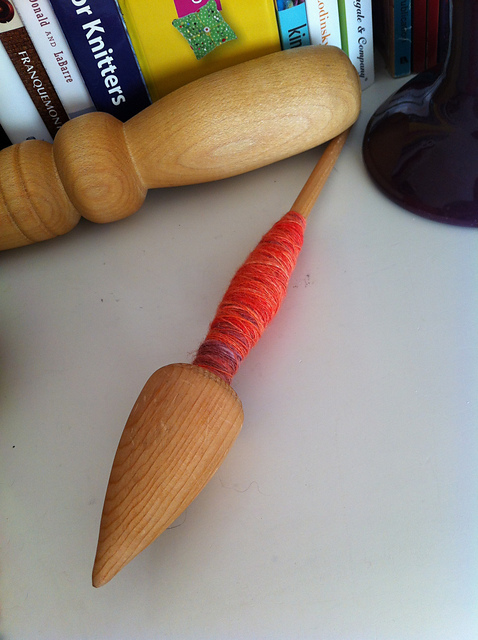
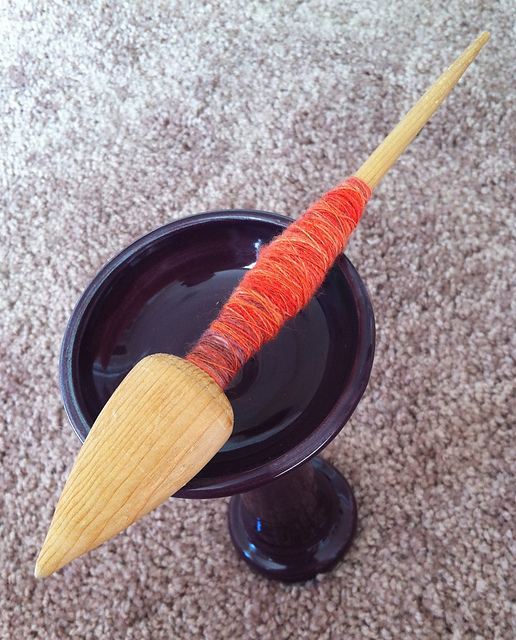
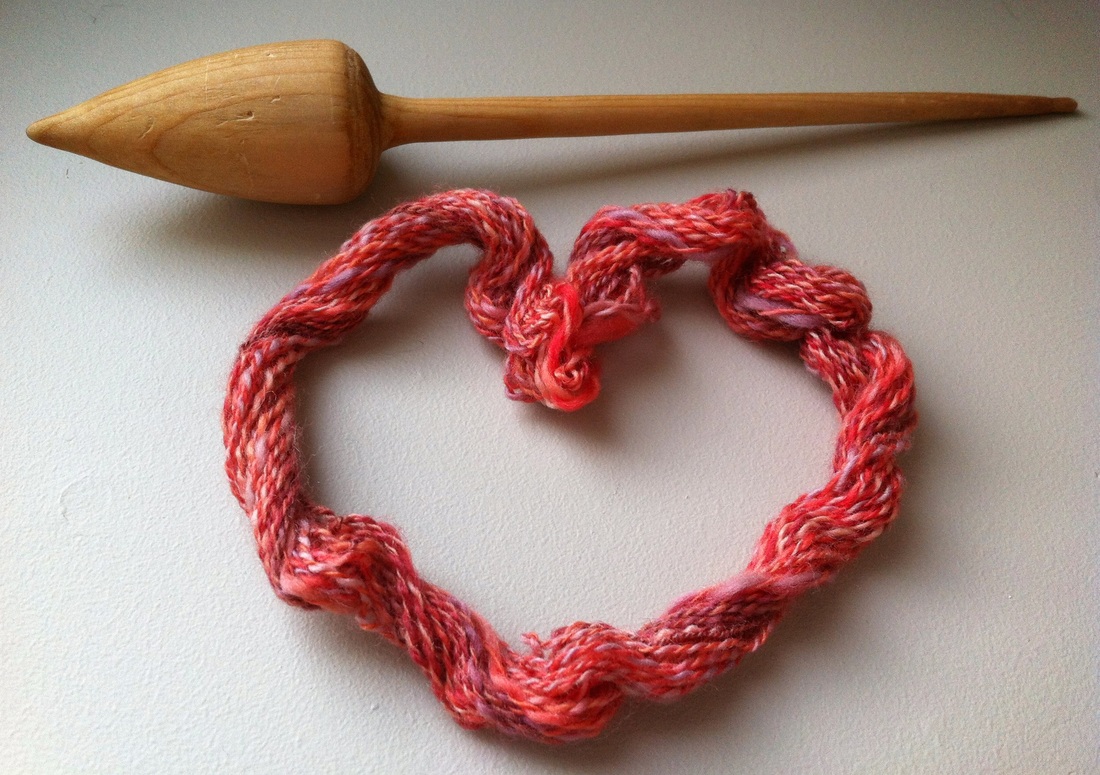
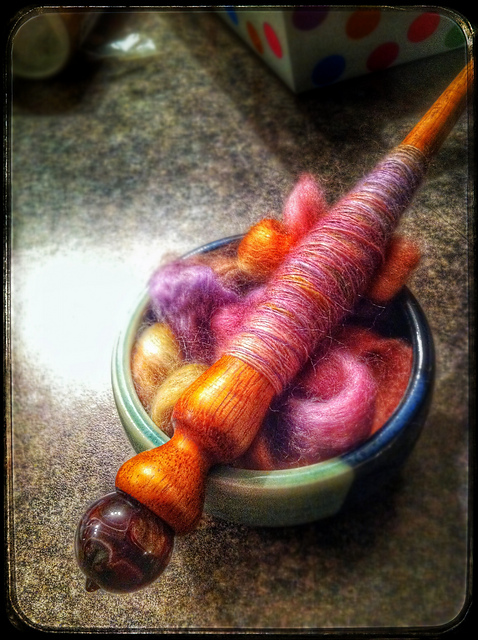
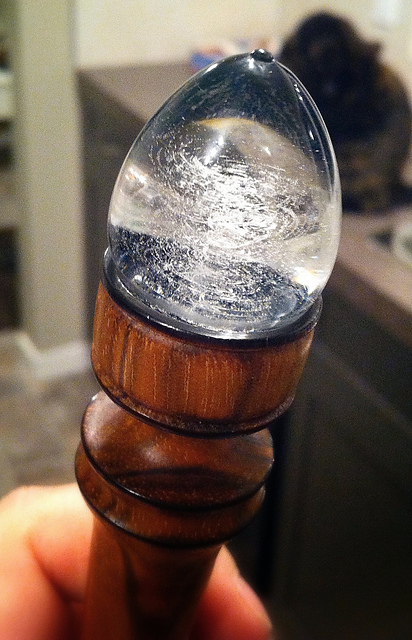
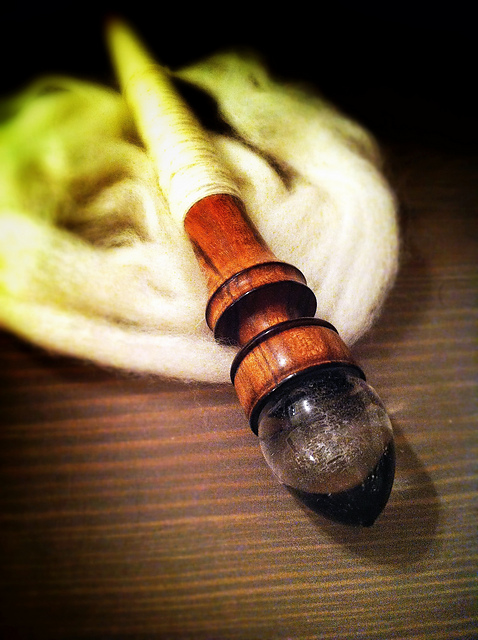
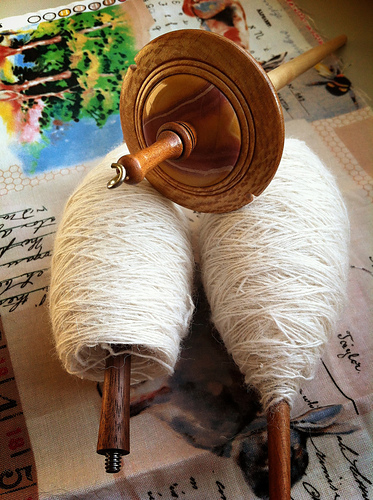
Believe it or not, this is my favorite supported spindle. I am not sure on the maker as it was given to me in a destash. I have seen similar ones on Ravelry but if you know the maker of this spindle please let me know. I am going to call it "Turnip". Maker: Unknown Weight: 9 g / 3/8 oz Length: 7 1/2" Style: Russian I started spinning a sample from one of my Phat Fibre boxes on it and I fell in love. It is my smallest spindle and some might refer to it as a pocket spindle or purse spindle. Because its so lightweight, I can flick it really well and find that it spins better and faster than any of my other Russians. I use my pottery lap bowl for this spindle because I get less friction than I would with my wooden one. I found that my yarn was very fine and I could add a lot of twist quickly because of its fast spin. The length of the shaft might pose a problem to some. I usually prefer longer supported spindles but this one is an exception to the rule for me. The wood used is quite lightweight as well and I bet if the wood was a little stronger and more dense this little spindle could be even better. There is no finish to this wood either, it looks like it was carved/turned and left as is. Not a big deal but pretty spindles get more points.
Spindle rating: Length of spin: 9.6 seconds (average of three tests) Fibre storage ability: Fair Looks: Simple Overall Rating: 7/10 This spindle spins fast and despite its looks it is one of my favourites for travel and sample spinning
1 Comment
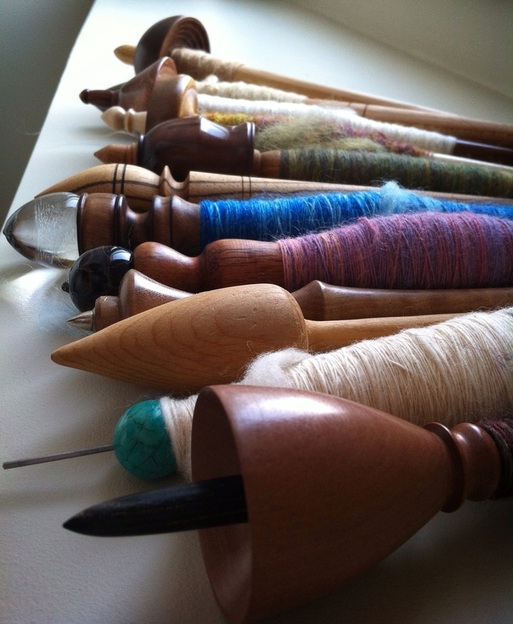
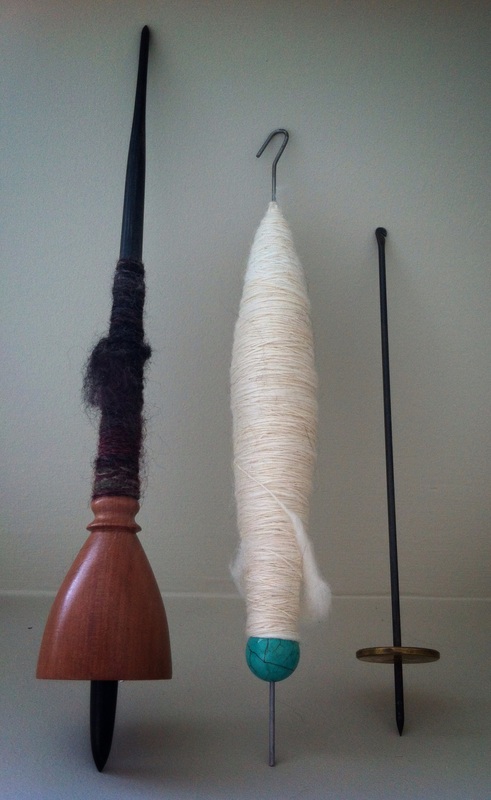
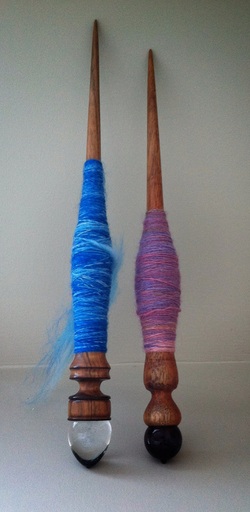
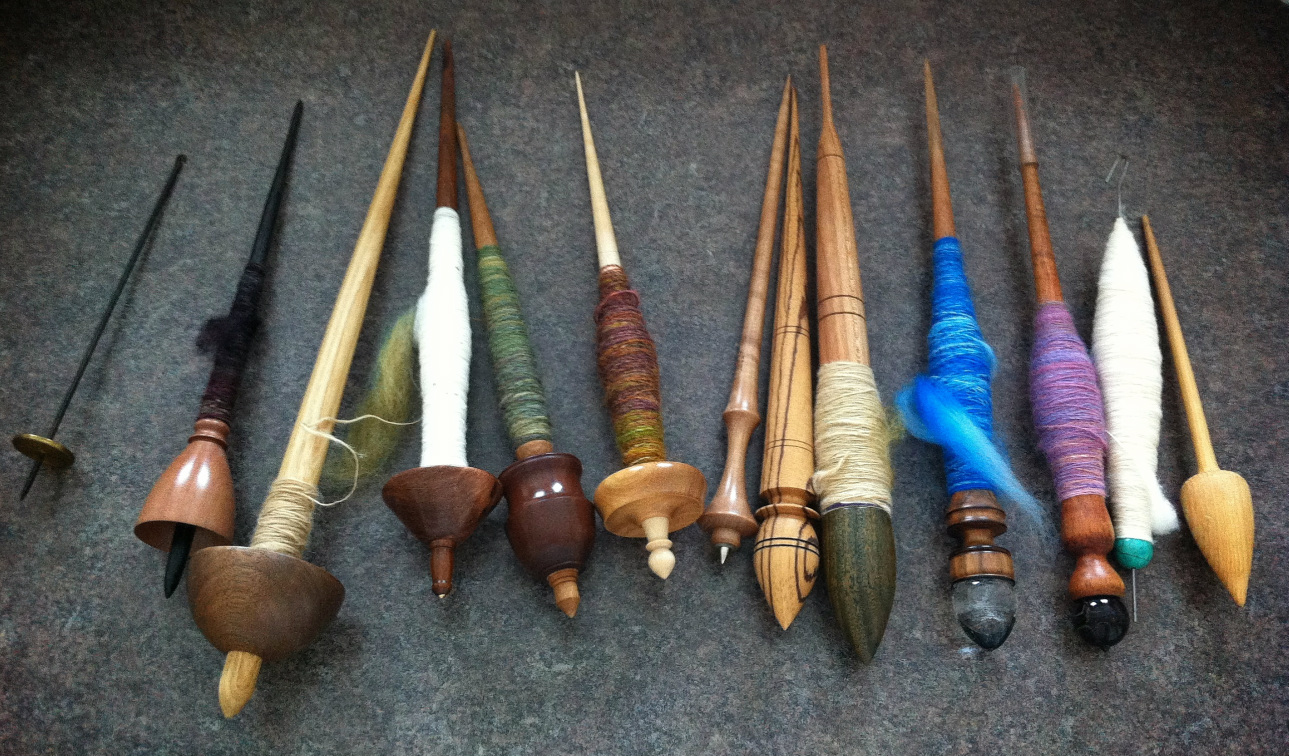
Spindles are wonderful tools to have. Not only for spinning, but also for collecting! Part 1 in my spindles series, will be a quick overview of supported spindles. I am also going to give more detailed reviews on each of my spindles over the course of the year(s) and plan on doing giveaways with some. So lets get started. The nature of supported spindles is that - you spin them in a bowl, or on a surface where the bottom tip is being supported. You can spin very fine yarns with spindles like these because you are not adding the weight of the spindle to your fibre. This makes spinning fibres with short staple lengths such as cotton, cashmere or angora easier. Long draw spinning is common and many people prefer supported spinning because you don't need to take up a lot of room. You can sit comfortably and don't have to strain your arms. You then use your fingers to flick the top of the spindle and you spin your yarn off the point (tip) of the spindle. The hand you use to flick the spindle is also used to cup it as it spins. It takes a bit of practice but once you get the rhythm down, you can spin to your hearts content. 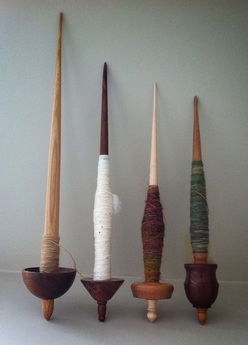 Tibetan Spindles Tibetan Spindles These are my Tibetan spindles (from left to right: Tabachek, Neal Brand, Texas Jeans, Miss Lucy). The are really great spinners because each of their bases add weight which keep them spinning for a lot longer than you would expect. As you can see by their shapes, each designer adds his/her own special touch. Each of these spindles is rim weighted (which I love). You can pack a lot of fibre on these babies. 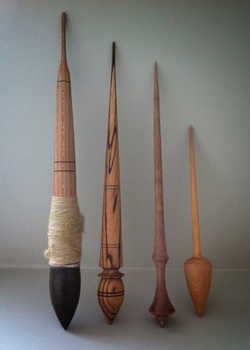 Russian Spindles Russian Spindles My Russian style spindles (from left to right: Jim Leslie, Tabachek, Phil Powell, unknown maker). These spindles don't spin nearly as long as the Tibetans above, but they are fast and I can spin very fine yarns on them. They usually have the bulb type shape but in the case of the Phil Powell spindle, they don't always.
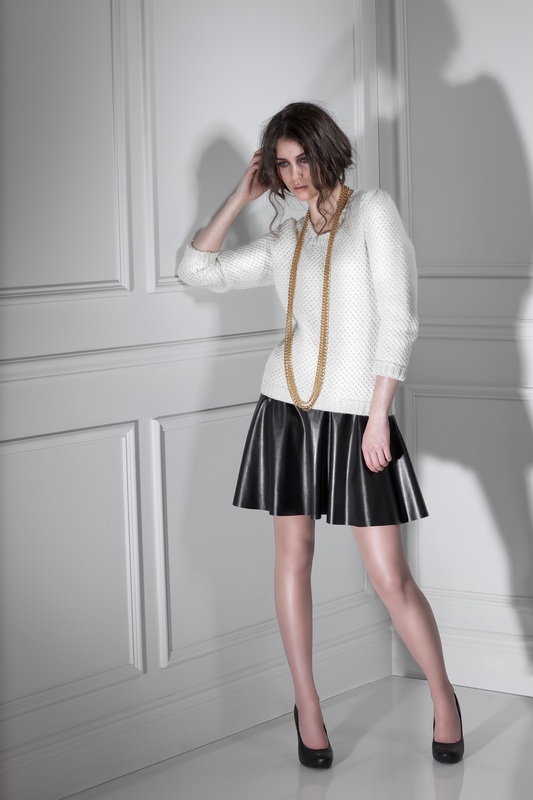
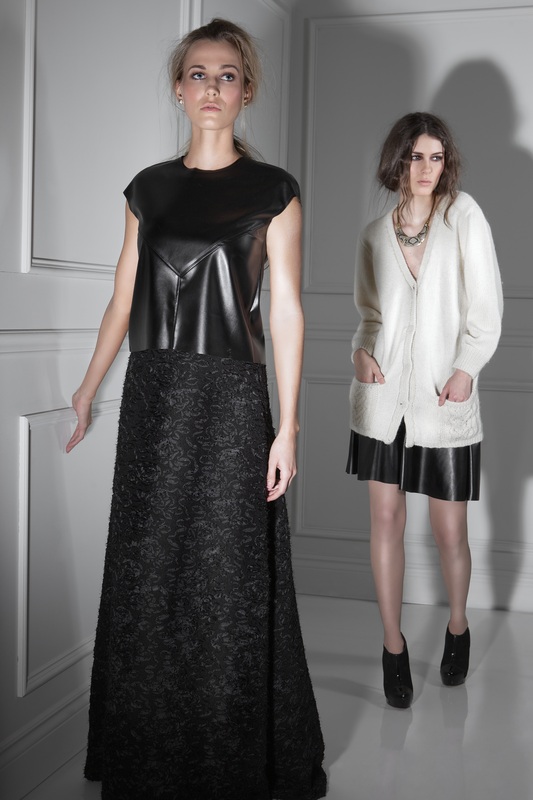
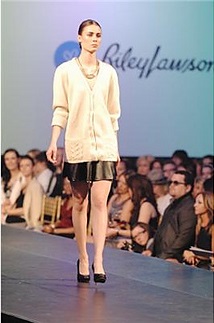
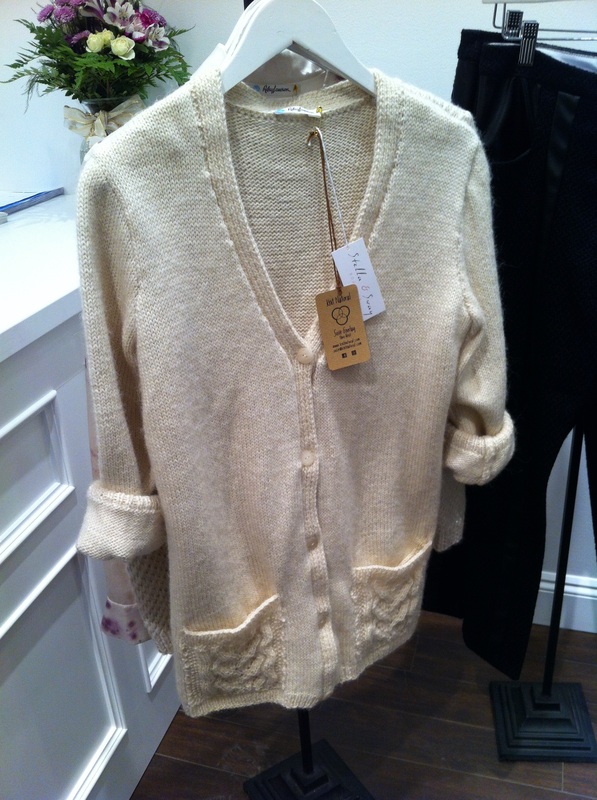
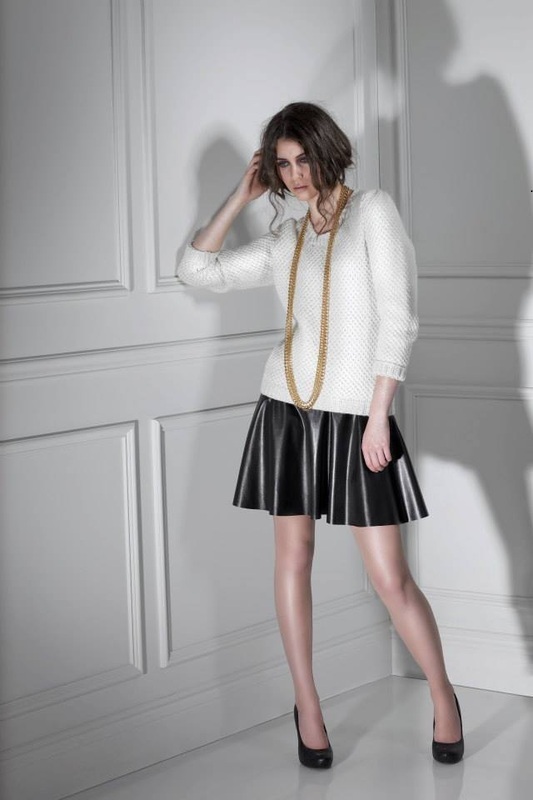
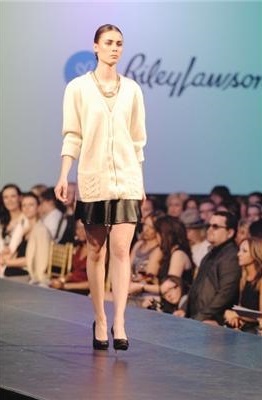
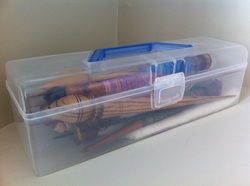 There are several ways to store your spindles. I store mine on one of these boxes from the dollarstore (believe it or not). My friend Susan mentioned these to some of us at one of our Fibre Nights and they are great! How do you store your spindles? Remember these sweaters from Sask Fashion Week 2013? Here is how it all started.... A question was asked on Facebook inquiring about someone who could knit a few pieces for Sask Fashion Week and a friend/co-worker of my husband's recommended me (thanks Kelcey Harasen!). I was contacted in Feb 2013 by Fashion Designer Riley Lawson to knit a couple of her designs for her fall/winter collection. We met and she showed me her drawings that she had made of two sweaters; one pullover and one cardigan, and we discussed details right down to the fibres. I had brought with me a couple swatches I knit in a few different yarns, and she decided that the pullover would be best knit with Baby Alpaca Glimmer from Diamond Yarns Luxury Collection. This amazingly soft yarn has a silver thread in it that really added to the awesomeness this sweater would become. Riley told me her favourite colour is shiny so we had a winner :P For the cardigan she chose Rowan's Creative Focus (Wool/Alpaca blend). This was beautiful yarn to work with and I loved every moment knitting with it. I was happy with both these yarn choices, as it showed that Riley had high standards in the quality of her designs and I was very happy that she wanted to include me in her ensemble. I was also humbled that she included me in her decision making process. 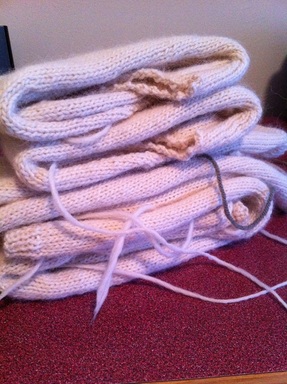 I got started right away as she needed both sweaters done before the photoshoot in early April. I started with the cardigan as I knew it would take me longer. I made all the pieces separately and blocked them with Soak Wash (Lacey scent). I knew I was really going to cut it close on time and I asked my very good friend Sara Yip if she could do the seaming for me. She was one of the only people I trusted, who I knew would do a professional job. I am so thankful for her as she didn't hesitate to help me out and not only did she do a professional job with the seaming she did it absolutely perfect! I don't know if I can thank you enough.
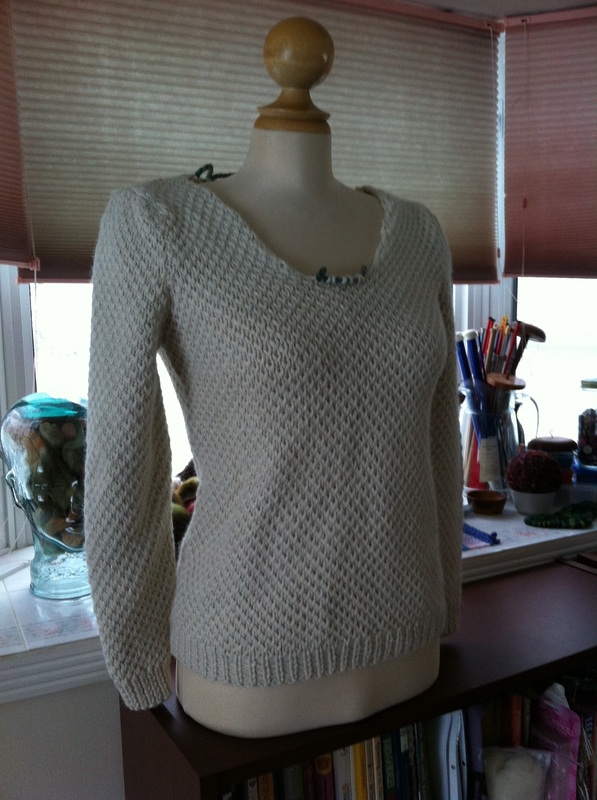
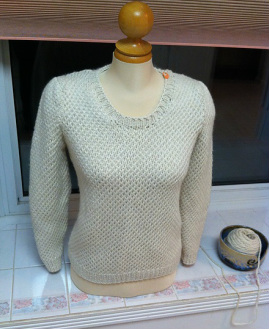
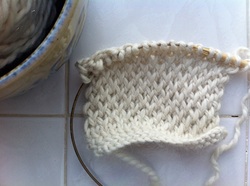 The pullover went much better, with the bulkier yarn and a looming deadline, I pondered which stitch pattern I could use that would give me the crosshatch pattern used in Riley's drawing. I knit up a swatch and sent it to Riley.
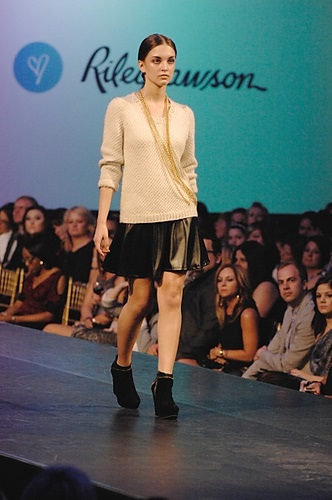
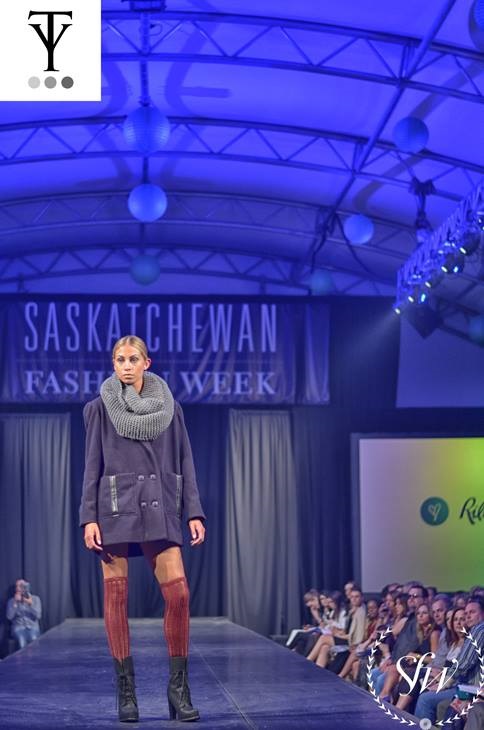
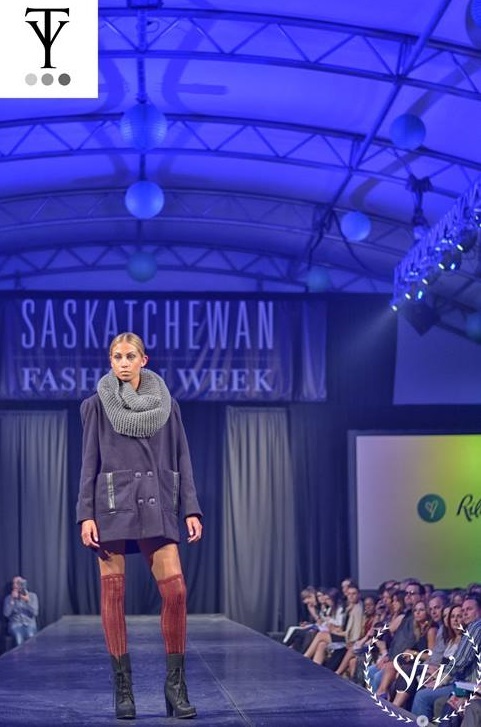
The photoshoot was April 13th at Kiriako Iatridis' studio. This was a new experience for me as I've never been to something like this before. It was very emotional to see the sweaters I had worked so hard on worn by professional models and seeing the pictures on the photographer's big screen was really remarkable and I don't have words to describe it. The days leading up to Sask Fashion Week were very exciting. Riley showcased the pullover on Global News along with one of her eco-dyed blouses. I was itching to see everything come together on the runway and I brought Jeremy, my sister Nancy and Sara with me so we could experience it together. It was put on SO well, inside the tent it felt like we had entered another world, in a fancier city but this was all happening in Regina! Riley's collection was going to be later on in the evening but it was worth the wait! All the designers that night put out great collections and the collaboration of so many talented Saskatchewan people was really mind blowing. I know we have really creative people in this province but so many of them in one place was really cool. Here are a couple shots from that night: The knee high socks in the centre were also knit by me. They have a really cool dropped stitch pattern with a hem at the top enclosed over an elastic. The yarn I used was Shibui Staccato (Merino/Silk) that was supplied to me by Riley. I used every last inch and finished them in 6 days.
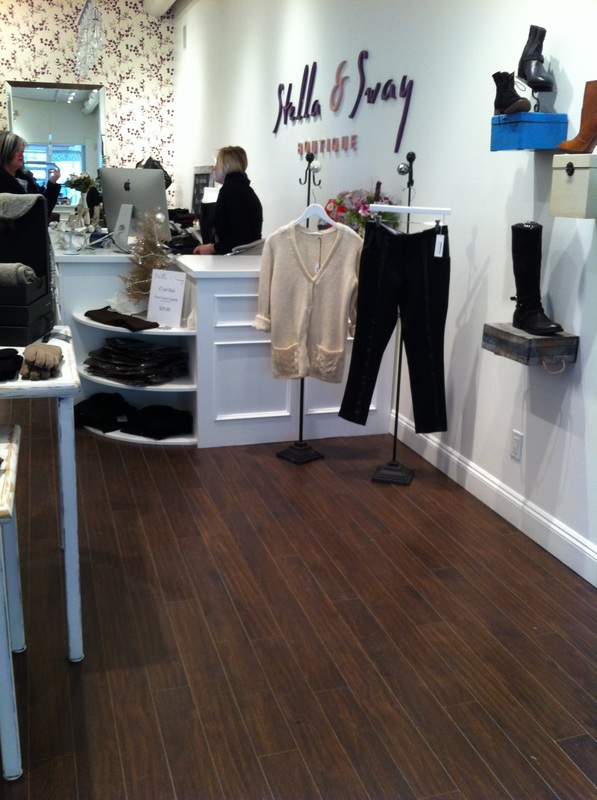
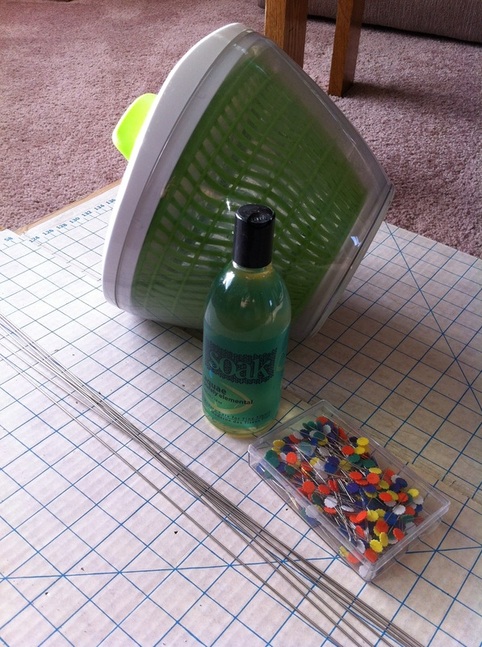
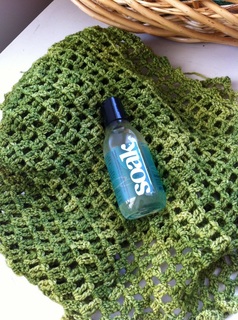
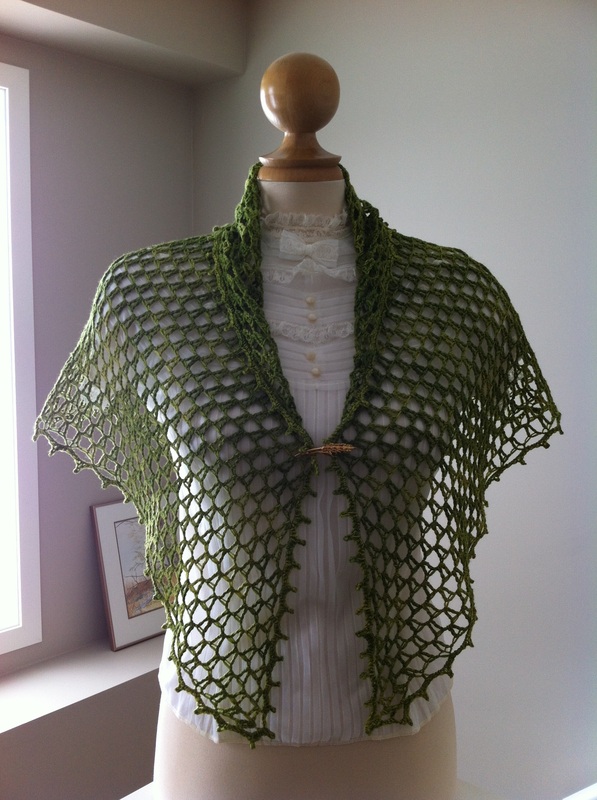
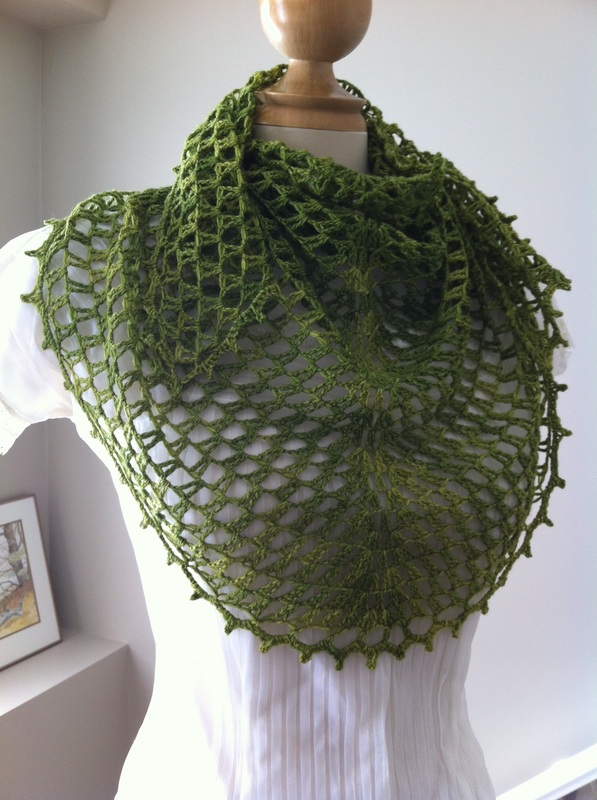
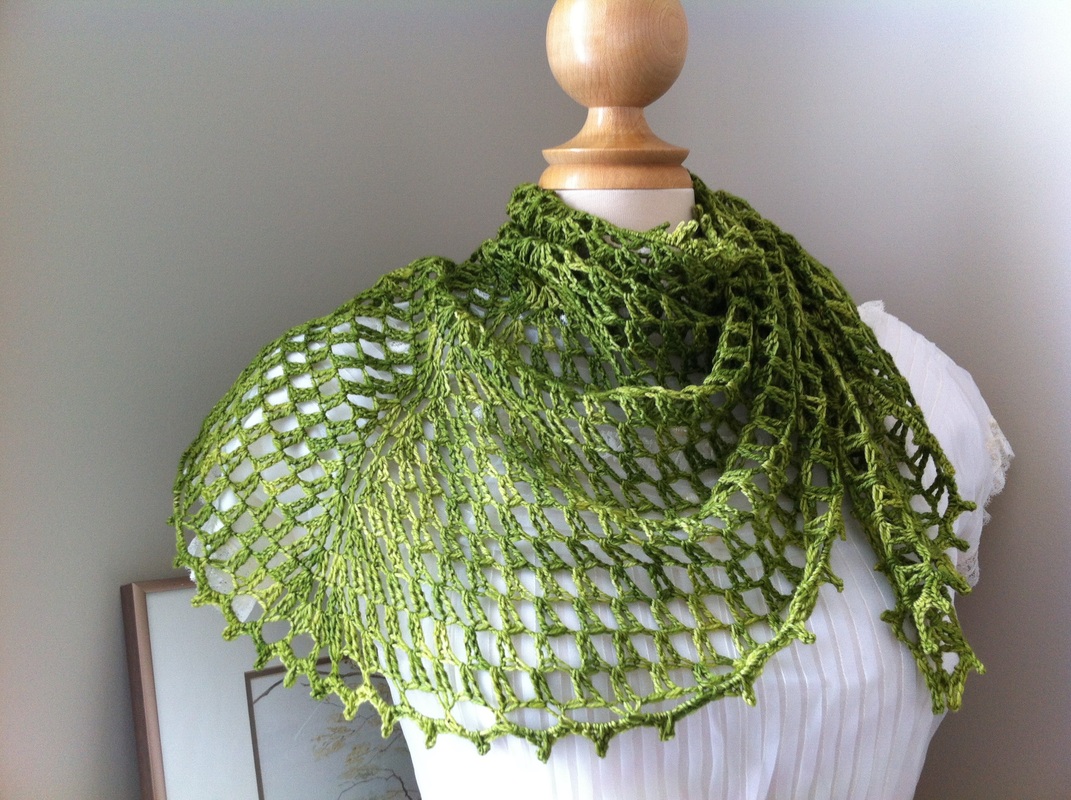
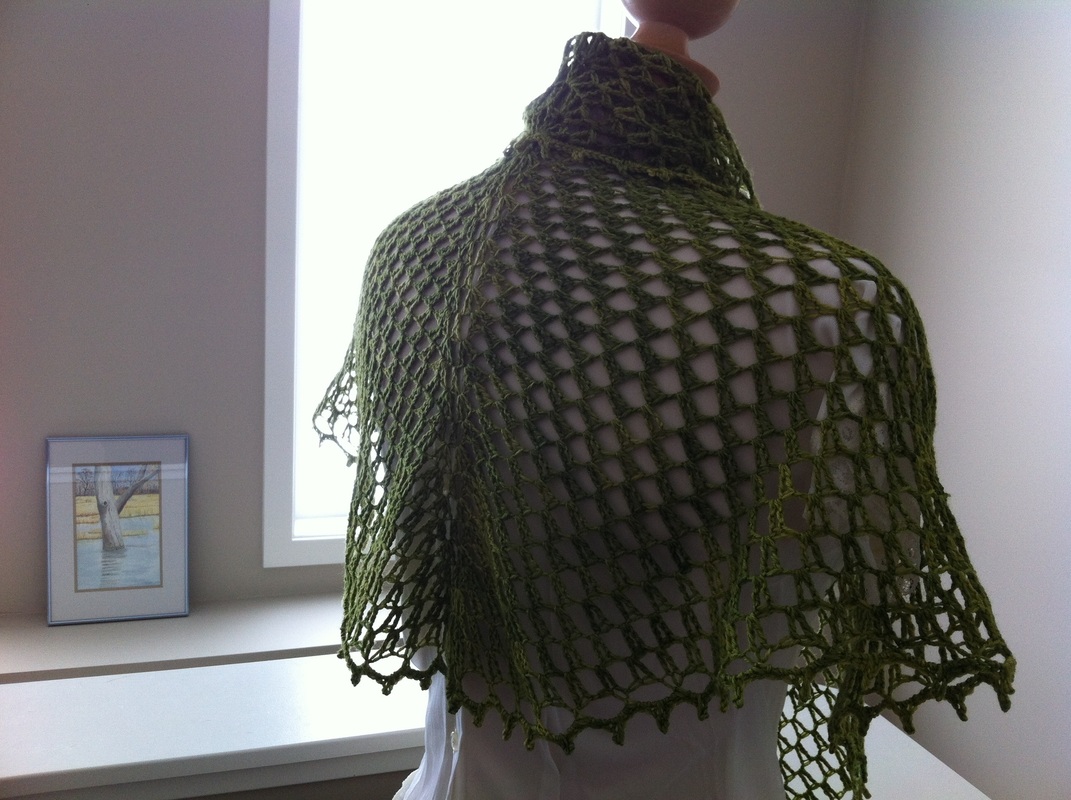
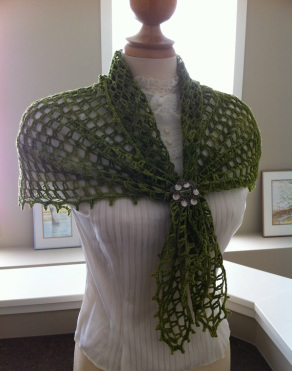
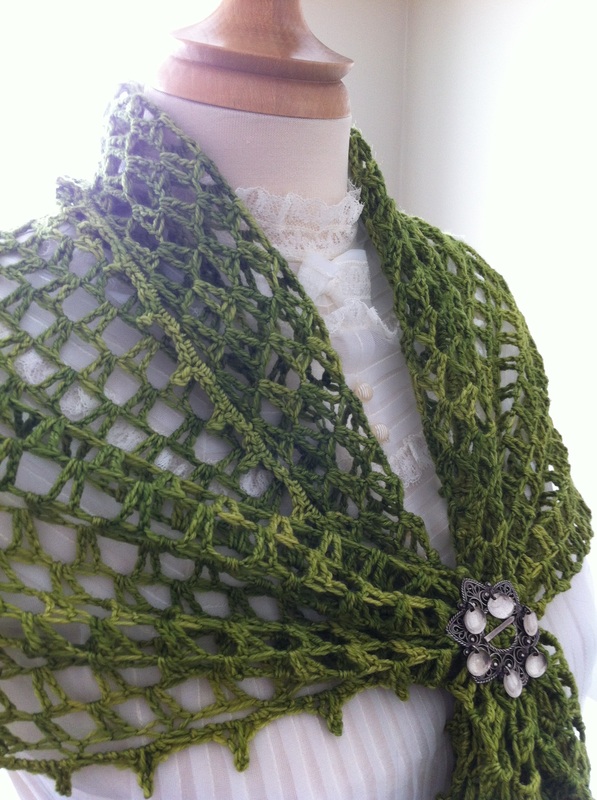
As you may have heard, Riley won the award for Best Emerging New Designer for Sask Fashion Week 2013 for her designs and her wonderful collection. She received a standing ovation and I was so happy for her! She really deserved to win for designing items that can be worn to work as a professional in the city or her items are really adaptable for pairing with other items already in your wardrobe. My favourite piece in her collection were the eco dyed silk blouses. She used berries to naturally dye silk which not only makes these blouses one-of-a-kind but it also she created wonderful splashes of colour and a cool story for people who own the tops. On that note I also wanted to tell you that her collection is available at Stella and Sway downtown on Scarth street! You can see her designs up close and become the proud owner of a Riley Lawson design. You should check out her facebook page and her website, and this article on her award. She will be one to look out for in the city. She does fashion styling for the Cornwall Centre, morning segments on Global News, writes a column for Pink Magazine and so much more. Such a talented woman and I consider myself lucky to have had met/worked with her. Finally check out Sask Fashion week this year, you will love it! 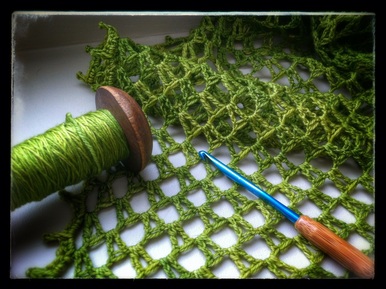 When doing lace work, its essential to block your finished project to really bring out the pattern and show off your hard work. In this tutorial, I will show you how I block all my lace knitting/crocheting and prove to you that blocking isn't scary and show you what a huge difference it makes. I crocheted the Mia's Lace Collar from Piecework May/June 2013 using Malibrigo Sock in the Lettuce colourway. The project is semi-circular and has a very nice granny-style main section with a beautiful picot border. I wanted to block this project to accentuate the picot points and make the shawl larger. I gathered my materials: Blocking wires, pins, salad spinner, blocking mat, and a wool wash. 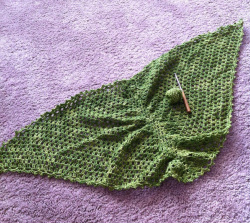 Before blocking my shawl measured 42" X16" you can see that it needs to be opened up in the middle. Doesn't look like much does it? I also should mention that I don't weave in my ends until after blocking. Since I am going to be stretching out the shawl, I find that if I weave in my ends beforehand, they kinda get pulled out a bit so if I wait until afterwards I can weave them in and hide the ends better.
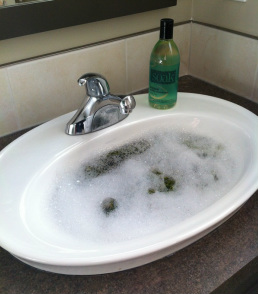 I let my items soak for about 15-20 mins. This lets the water and wool wash work its way through the fibres softening and opening them up. Remember not to add too much soap, a little goes a long way. 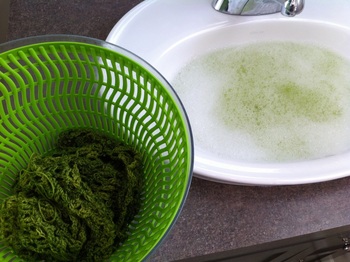 When the time is up, bring out your shawl and put it in the salad spinner. This tool saves time and energy :) Spin all the excess water out of your shawl. You don't want to wring out your lace, this could cause a bit of felting and won't get out as much water as the salad spinner will. You can also roll up your project in a towel to remove water but again, the salad spinner is faster. You may find that the yarn colour will bleed a little, this is ok and it is also another good reason to block these types of projects before wearing. Now we are ready to block!
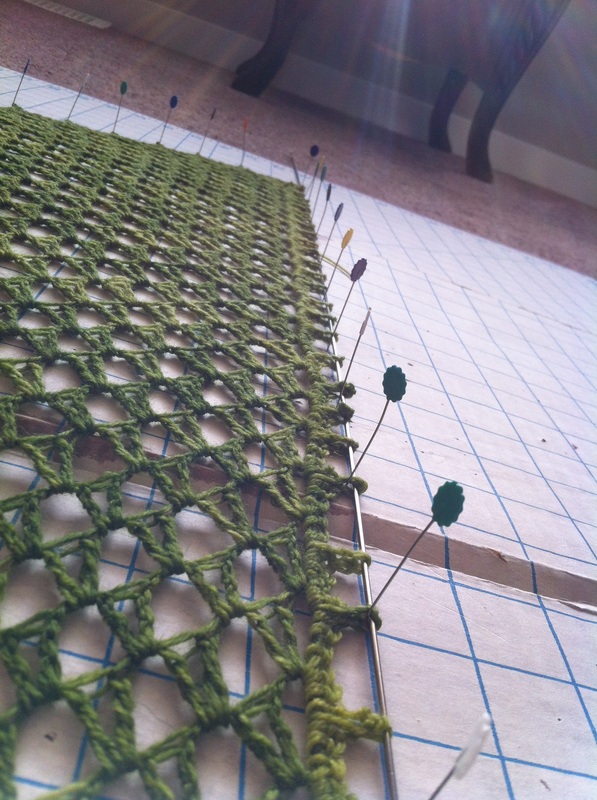
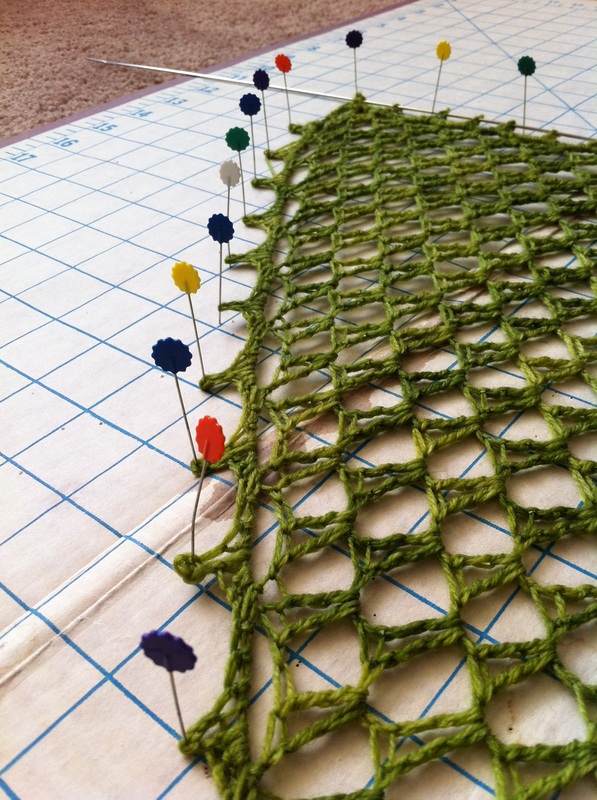
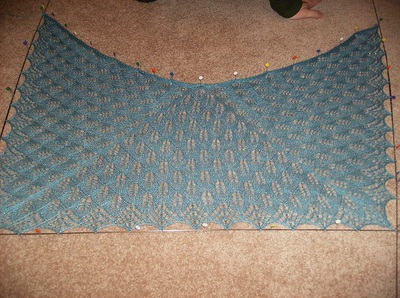
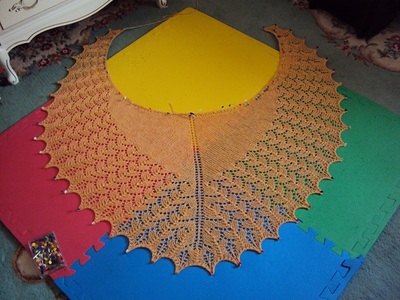
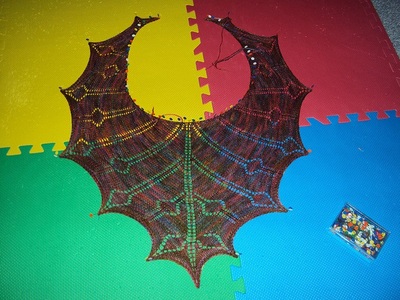
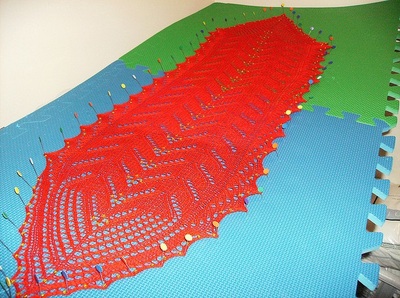
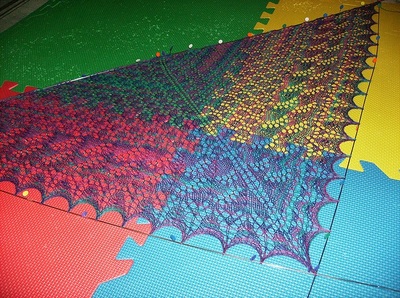
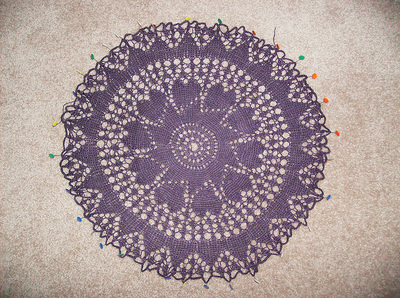
Once I have the top centered and stretched to as large as I wanted, I worked my way down each side pinning out each picot point. I made sure the centre spine of my shawl was centered and stretched down as far as I could. Once your shawl is pinned, you can adjust as you need, blocking harder or evening the points out. If you are using blocking wires this becomes very easy. 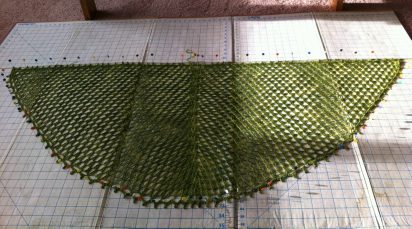 Once you have everything pinned, leave your shawl to dry completely. This ensures it holds its blocked shape. After blocking my shawl measures 60" X 22" and as you can see, its shape is much more pronounced than it was originally. Here are some other lace shawls I have made and blocked using wires and pins. You can also see how I used wires to my benefit depending on the shape of the shawl. I hope you found this tutorial useful. Let me know if you have any tips or tricks when blocking and I'd also love to see your blocked projects :)
 Happy New Year! 2014? Hard to type that number at the moment but I'm sure I will be used to it by the end of the month. Happy New Year to each of you :) I wanted to take this time to go over the many great experiences I had this past year and my plans for 2014.
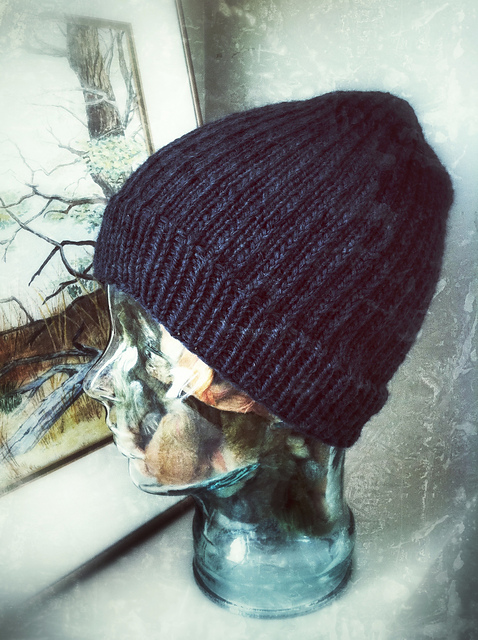
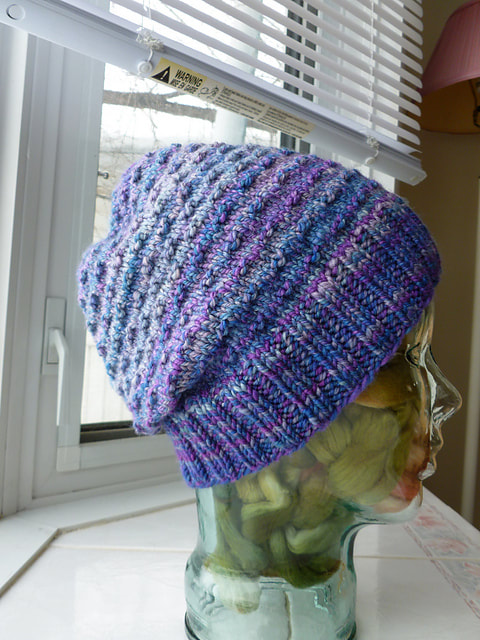
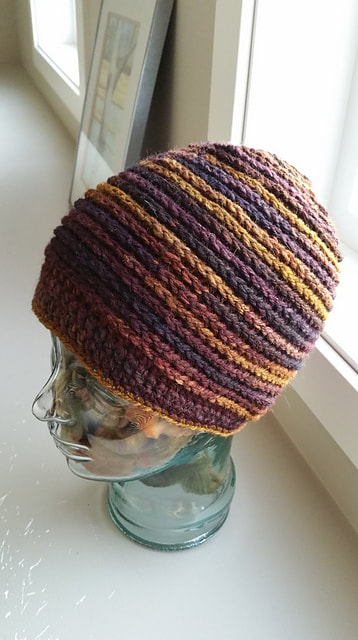
 I taught several classes a month at Cindy-Rellas and met a lot of great people who I see have continued with the skill they learned from me. I was glad to see many of them share a passion for fibre and were truly interested in learning all they could about the subject at hand. Its fun to share my love for fibre and especially when I make friends along the way. I am currently working on my class schedule for this year and it will be listed on the site in my Classes & Workshops section shortly. As always, if there is a class you are interested in or would like private lessons or assistance in anyway you can always contact me at [email protected] and I will be happy to help. I'd love for you to come to relax in my studio and knit/crochet or spin with me :) 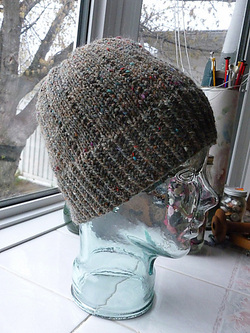 I had started to play with the idea of designing. I know what I like, I see what I like and I like to make what I like. I love how wool is so versatile and how handspun yarn can make a project really one of a kind. I had knit a couple designs this past year (both free) and they have really taken off. Bankhead has been my most popular design so far with over 235 hats knit on Ravelry and in over 180 queues with hundreds of downloads a month and a 4.5/5 star rating. It fulfills one niche that is sometimes hard to find with knitting in that its a favourite among men. With it being comprised of ribbing, it fits a wide variety of head sizes and is easily customizable. A couple testimonials from Ravelry: "This is my favorite hat I’ve ever made. Ever." "This turned out so well I’m tempted to tell the birthday person I have no present to give" "Super easy pattern. Quick, satisfying knit" "A wonderful pattern. In fact I am going to knit another one" "Simple, quick, and manly" "This is going to be my go-to hat pattern from now on" "One of my favorite patterns!!!"
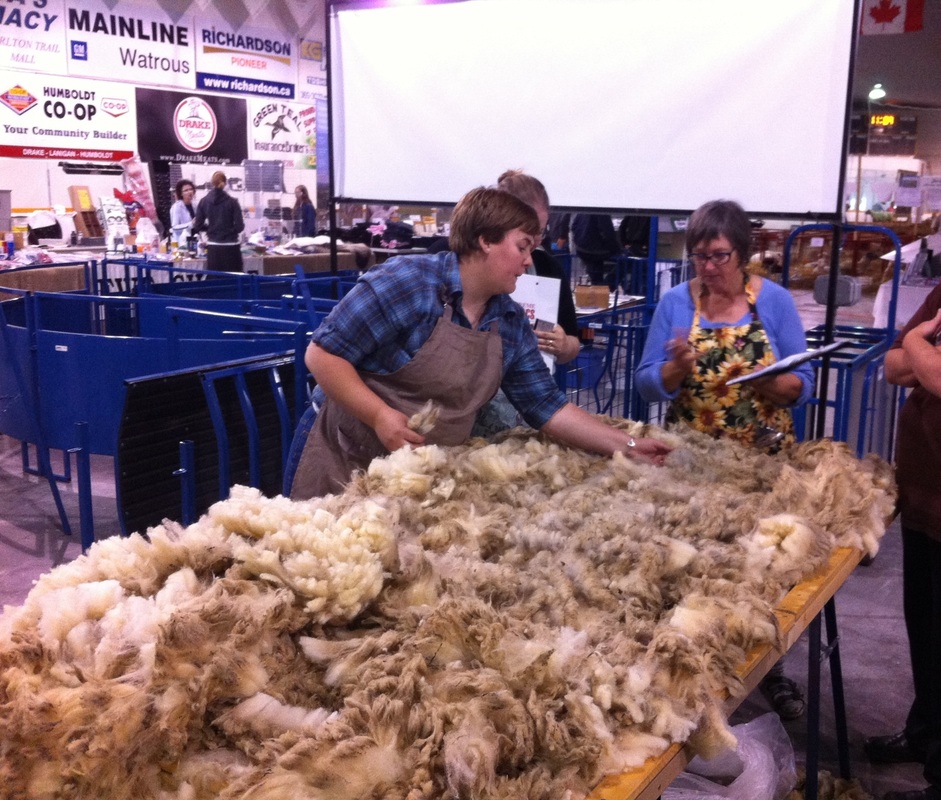
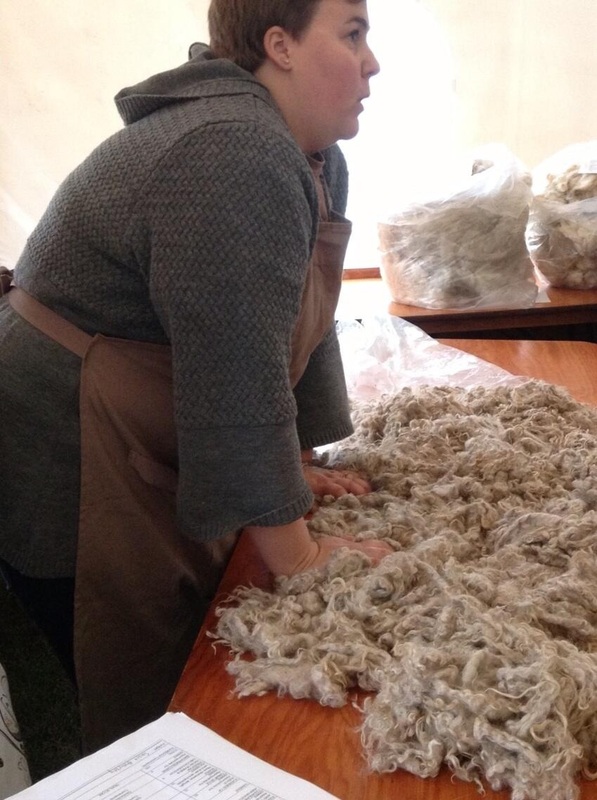
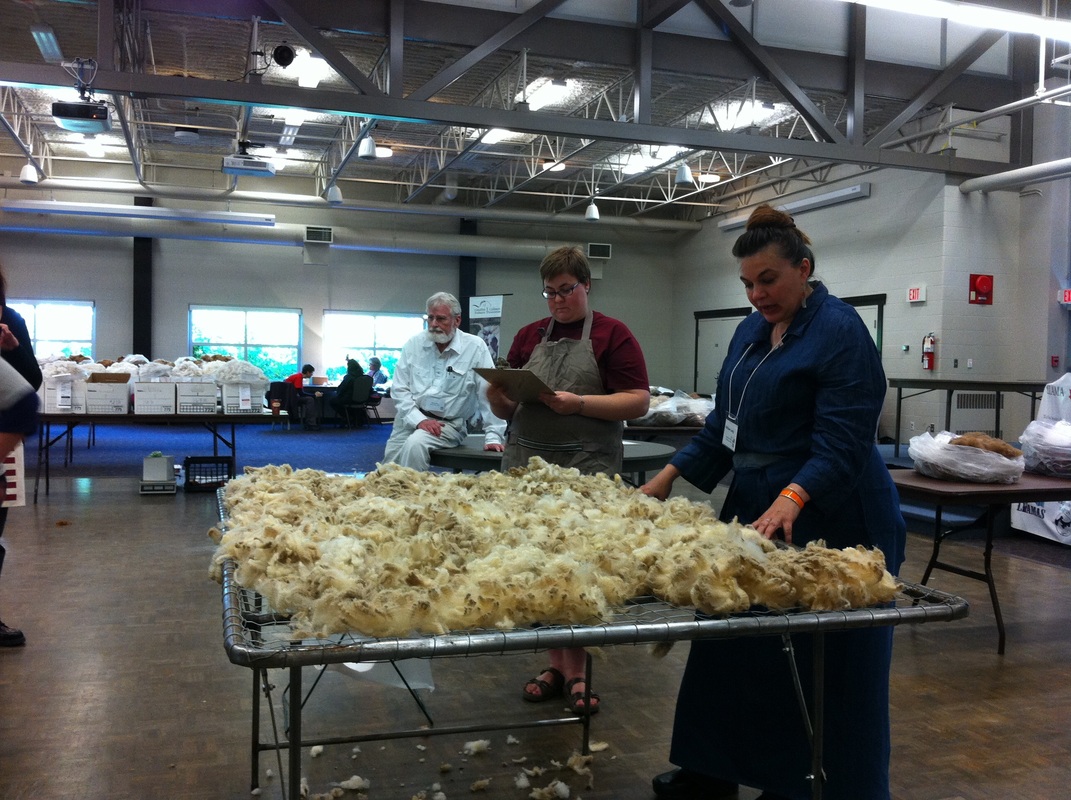
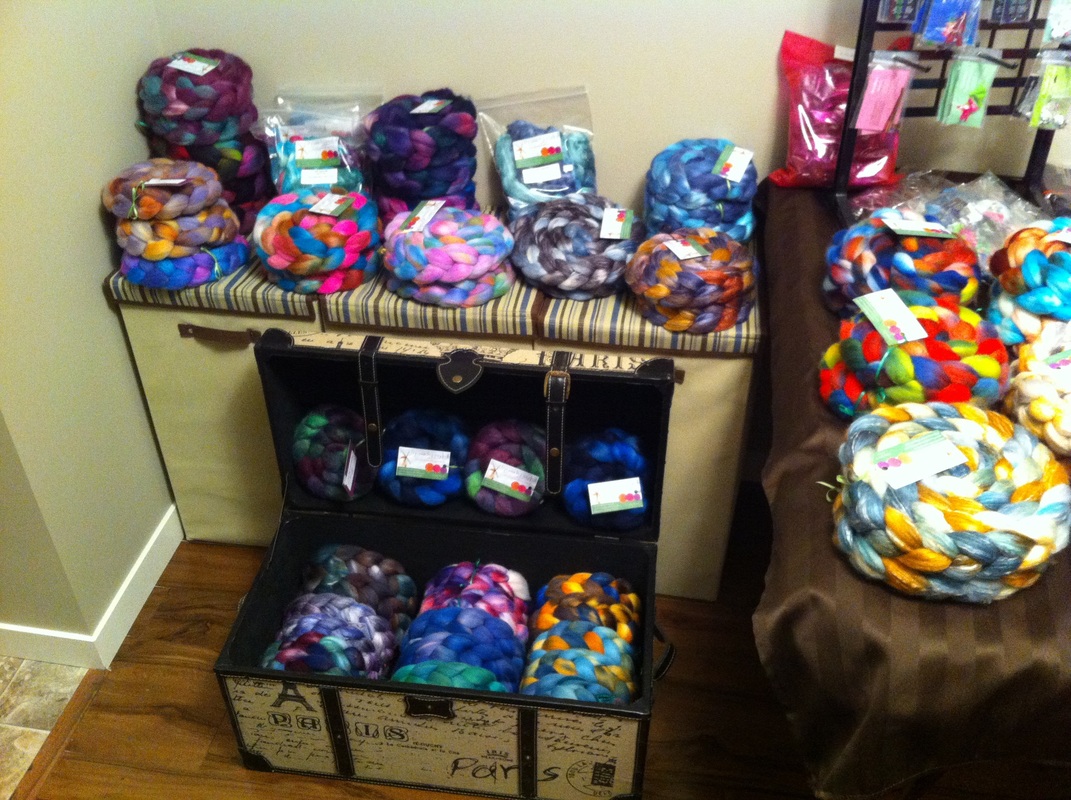
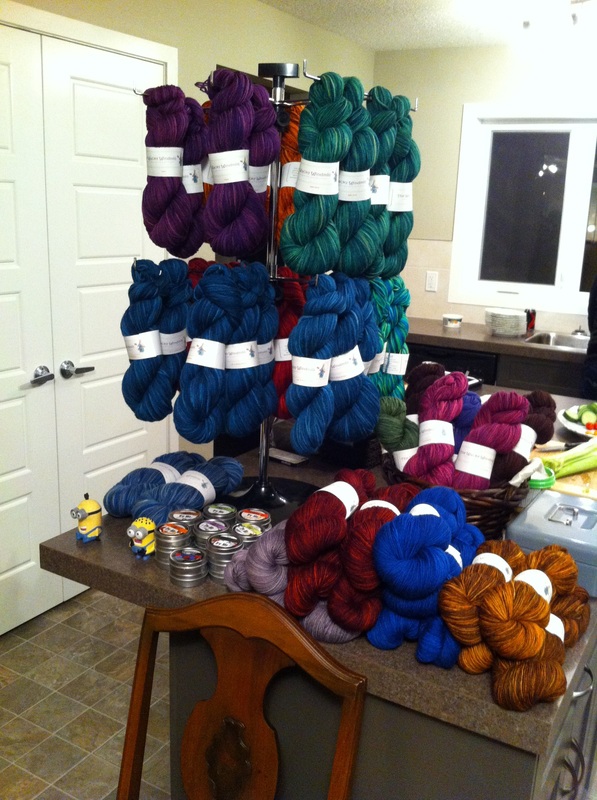
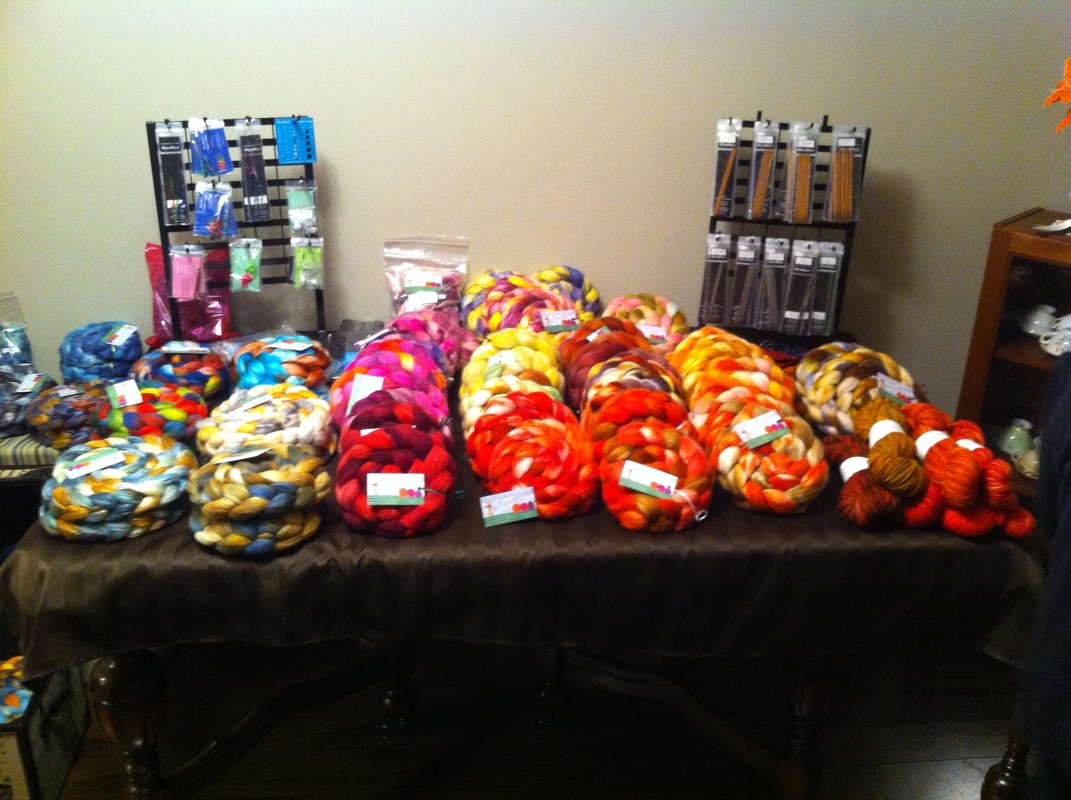
I have made a few more designs which I just need to type up "Speargrass", "Wally", "Network" Pisces Shawl and my sock design class socks (which obviously don't have a name yet and I wrote the pattern 2 years ago) need to be tested again and will be available soon. SO much more to come. I also have a crocheted hat pattern for sale at Cindy-Rellas called "Hatkuna Matata". My mind has been racing with ideas that I need to put on paper and create with fibre, so you will have lots to look forward to from Knit Natural this year. I'm 100% focusing on showcasing handspun and designs with handspun in mind, designs with wool in mind and how to take advantage of the many benefits and special powers of wool and other natural fibres. This will be an exciting year :) Feb-May was busy for me as I spent every moment I had knitting a couple sweaters for fashion designer Riley Lawson's Fall Collection. She showed me pictures of her designs and we discussed what sorts of details she wanted included. I went off her wonderful ideas and knit her a pullover and a cardigan which were featured on the runway at Sask Fashion Week AND she won the Emerging Designer award that weekend. I also knit her a pair of knee high socks in 6 days that were a nice accessory paired with a gorgeous wool jacket. The pullover was featured on Global News and both items are available for purchase (I will be writing a post on this experience in the next week or so). I attended 3 wool shows in 2013 in all 3 prairie provinces and judged/scribed at each one. I love wool judging more than I expected. I'm always interested in learning as much as I can about fibre and wool in general and with all the breeds out there and all the cross breeds, wool judging lets me continue to learn with each fleece and I can literally immerse myself in greasy wool and breathe in all it has to offer. I am hoping to continue judging for as long as I can and I am going to really try hard this year with my Sheep Study on my site here. I have many samples washed and I had fallen behind in 2013.  My website stats hit an all time high this past year with over 26,500 page views and my facebook page went from 30 to 111 likes. My Etsy shop with almost 2000 views, and items included in several treasuries has started to take off. I even sold the original Bankhead hat from there last month. I am going to try and post more blog updates this year. I have a lot going on in real life and my mind that I want to share but finding the time proved difficult. I also plan on listing MANY more skeins of handspun in my shop on this site. Weebly has made it even easier to list items for sale and I'm going to have to re-organize that section a little bit. I was a featured artist on the Handmade Sask website and was also included in one of the giveaway's offered When Kim from The Wacky Windmill came for a Trunk Show this October I really saw how crazy... I mean, how awesome the fibre community in Regina is. I think every member of the Regina Weavers and Spinners attended and many new faces who were likely as overwhelmed as I at the wonderful selection of hand-dyed fibre, yarns, notions and more Kim brought with her. It was also exciting to host this all in my brand new house! To finally invite people over and surround myself in good friends, my favourite dyer, fibre galore and food. I was able to open my studio (which has since been moved but more on that later) and not look some kind of weird hoarder of animal hair (well at least they didn't think so). These memories only scratch the surface of all that went on in 2013. I hope that you will continue to follow me as I share and write my experiences, designs, challenges, travels, reviews, giveaways & contests, sales etc in 2014. Thank YOU for helping me get here <3 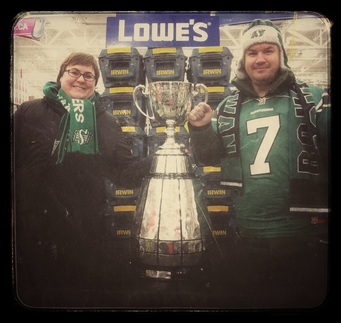 OH and (for Jeremy) the Riders won the Grey Cup :D |
Follow Me:PatternsCategories
All
Archives
August 2023
|


 RSS Feed
