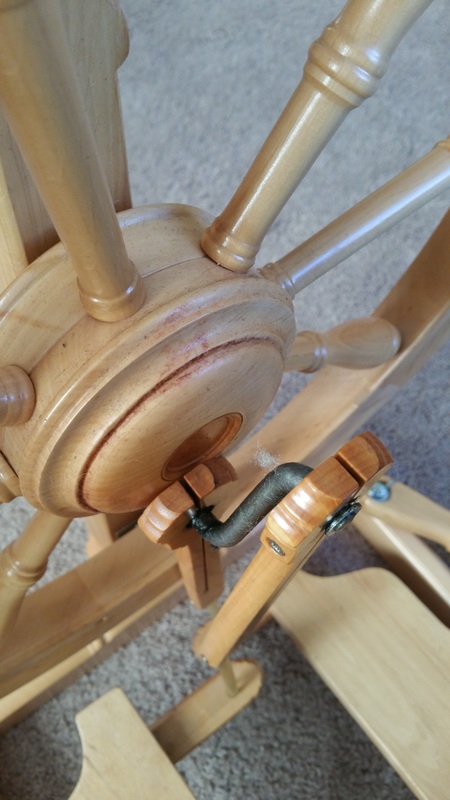
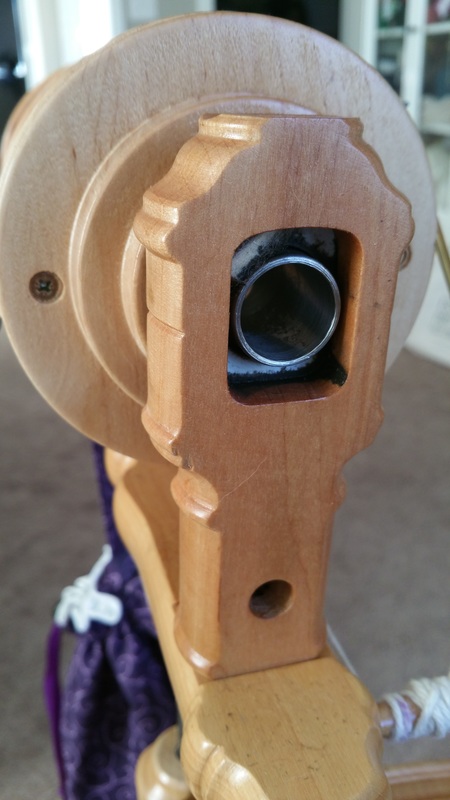
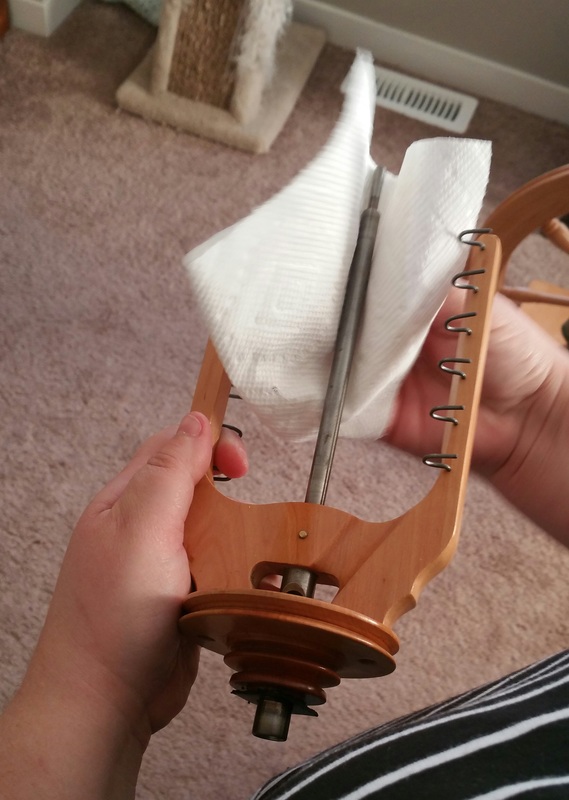
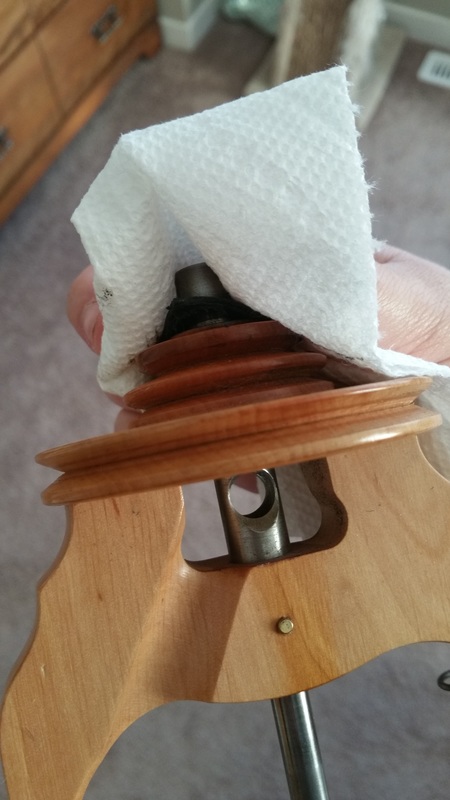
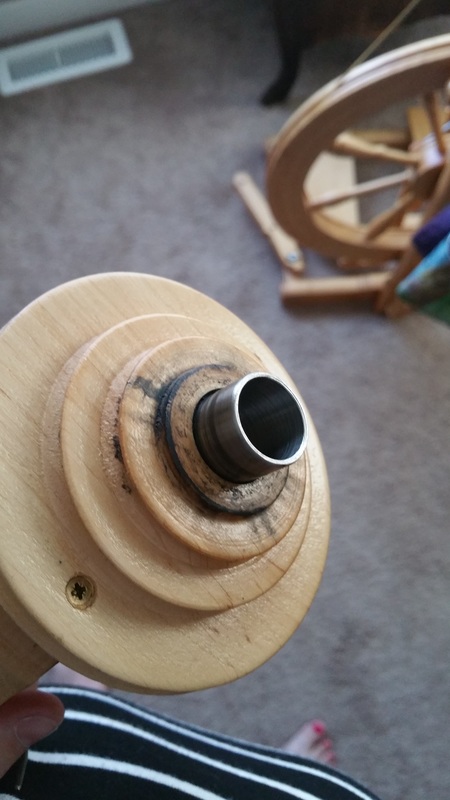
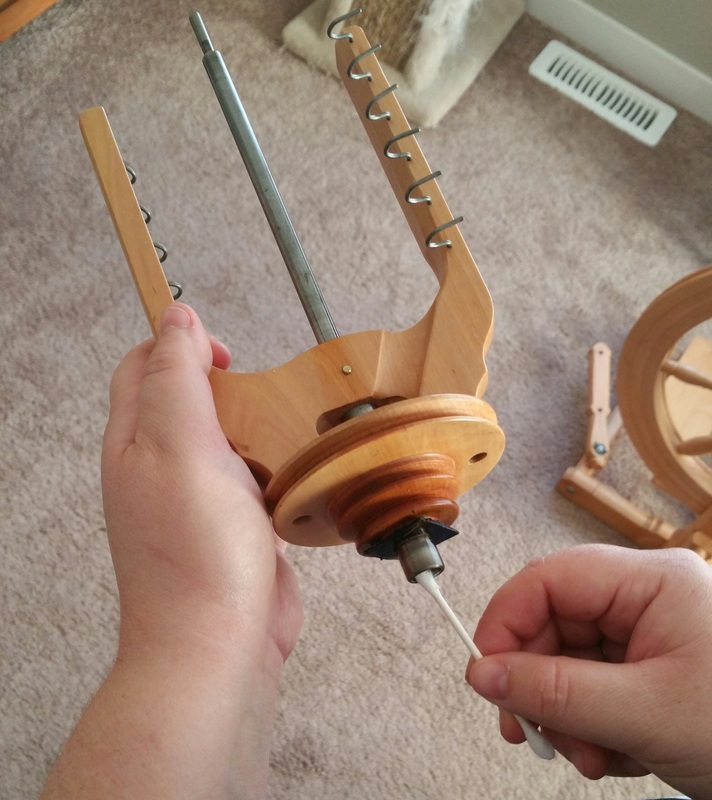
 It's easy to get into the spinning groove and lose track of time, we all know that! It's also easy to forget that your wheel is working very hard with you to make sure your skeins come out exactly as planned. Some issues you might run into are a result of poor wheel maintenance. I'm not here to pass judgement as I am guilty of this myself. Spinning wheels are a big investment and you really want to keep them working their best so you can count on them for years to come. I am going to go over the steps needed for good wheel care. Before you get started, you will want to make sure you have the following items: - Spinning wheel oil - Microfibre cloth - Allen wrench/screw driver - Q-tips - Cotton string - Paper towels - Wood polish or oil - Vaseline 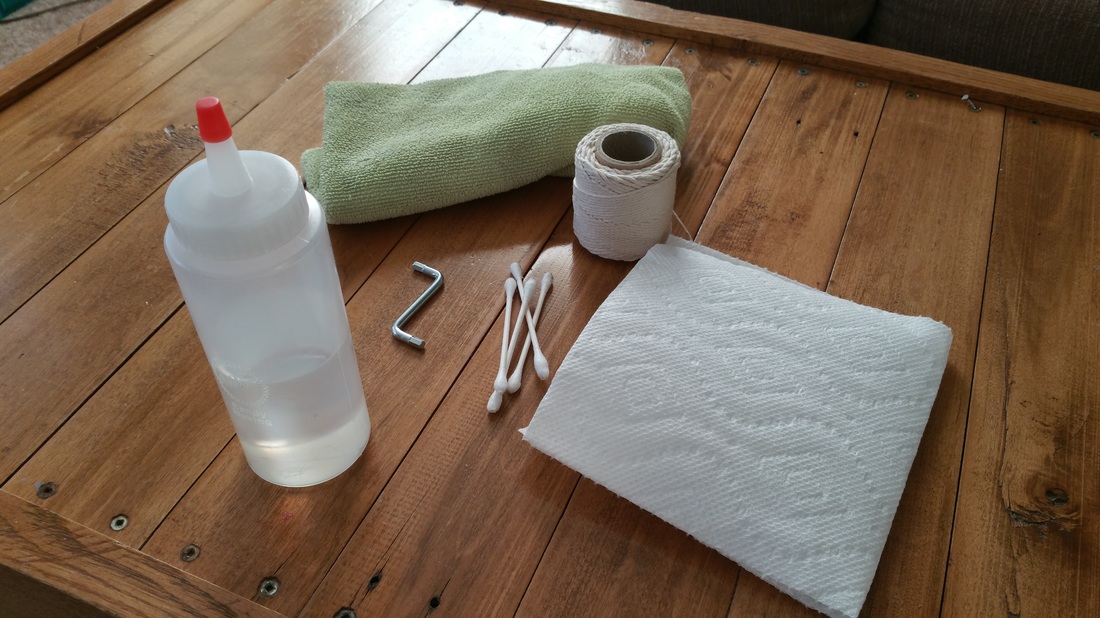 Check your wheel for areas that have a lot of grease, dirt, dust and gunk. You will find that the areas with moving parts have the highest concentration of these substances. Remove your flyer and bobbin and clean/dust all the spots where you normally add oil. Don't forget the footman assembly. Use paper towel to clean these metal parts. 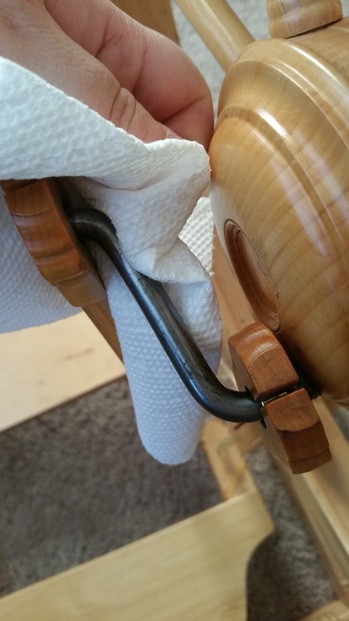
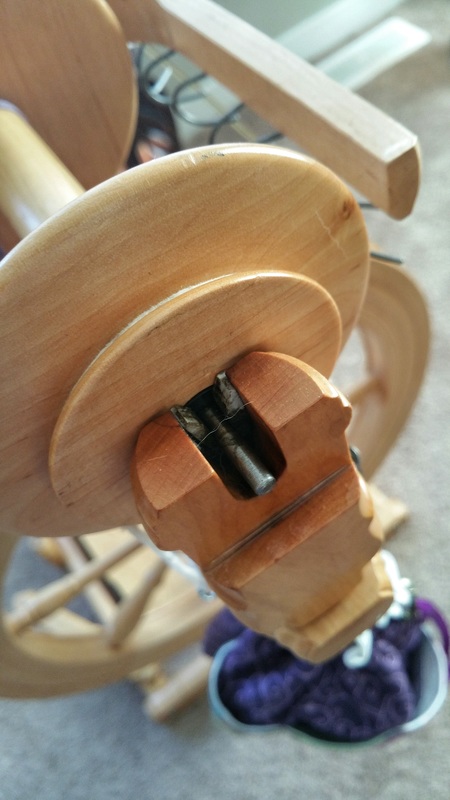
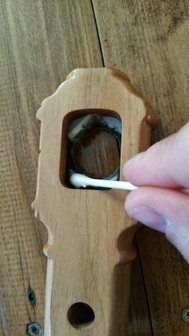
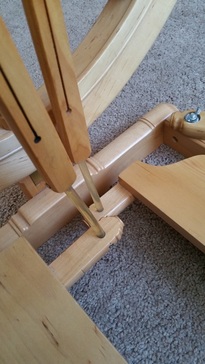
Use a q-tip to clean out smaller spots like the orifice and the area on the front maiden. This is also a good time to replace a worn brake band or drive band. You can use cotton string (not mercerized) as an inexpensive alternative. If you have any leather parts like footman connectors or orifice bearings, soften them with a leather conditioner or Vaseline. 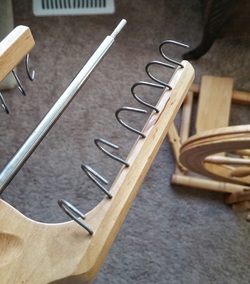 Re-shape and re-screw any hooks that need an adjustment.
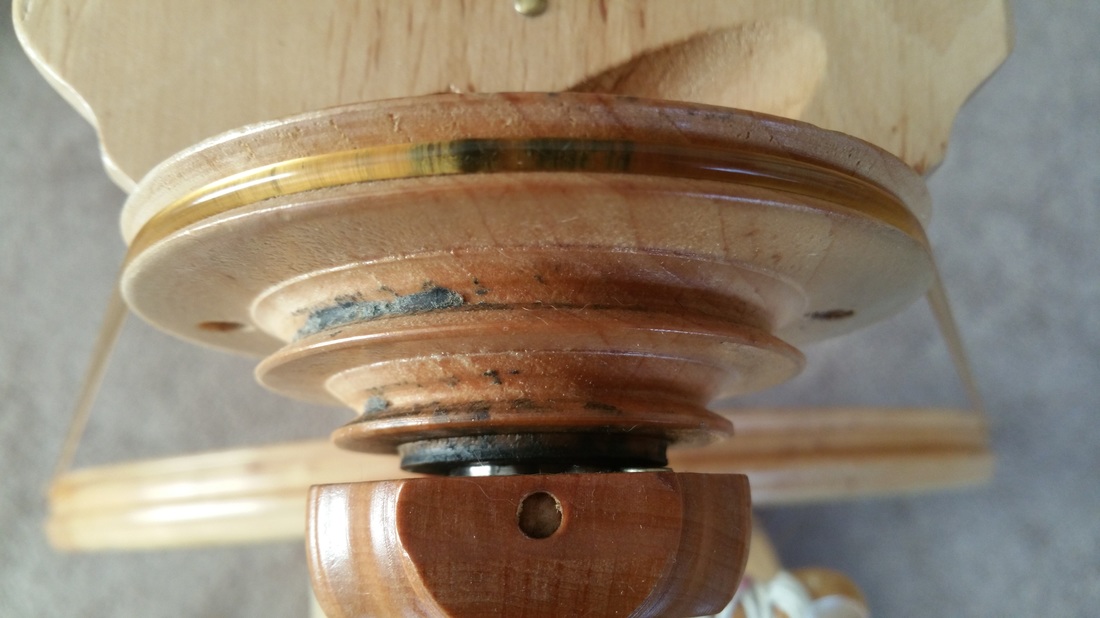
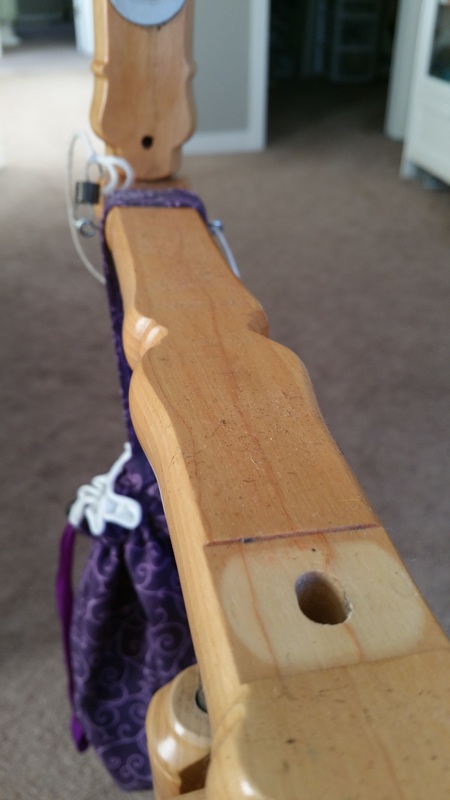
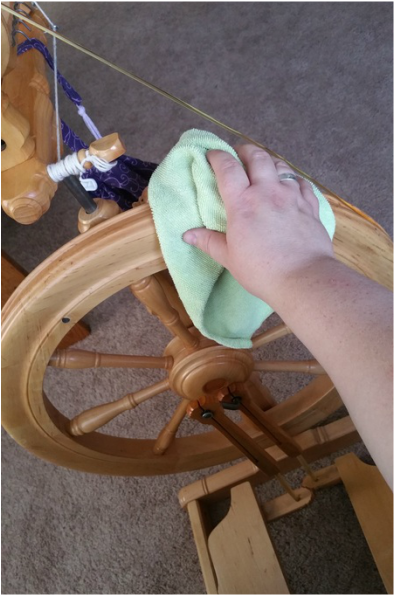
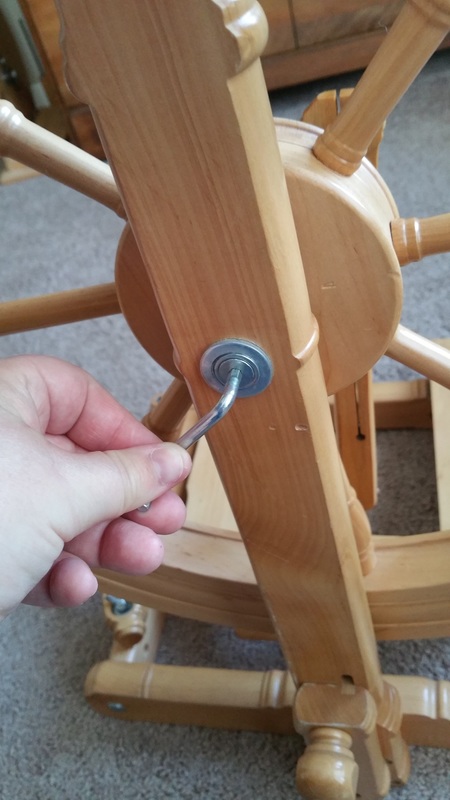
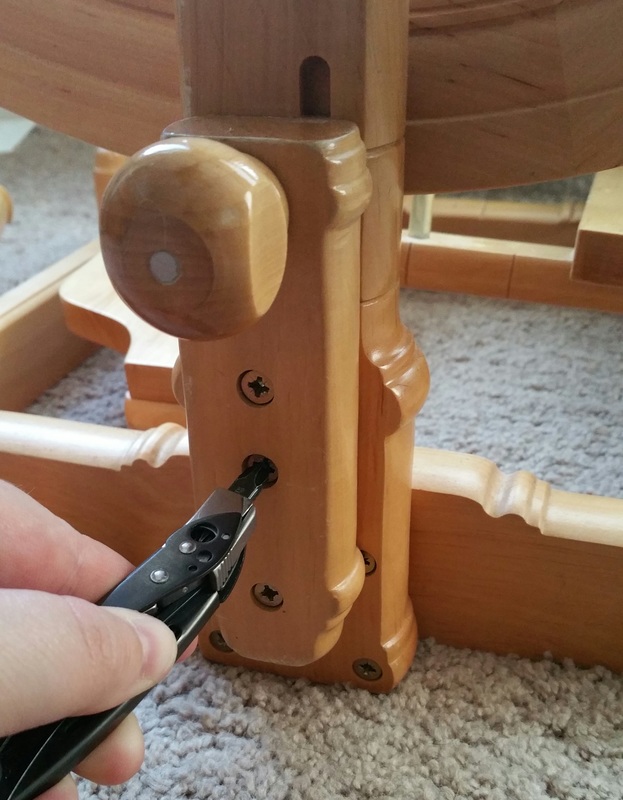
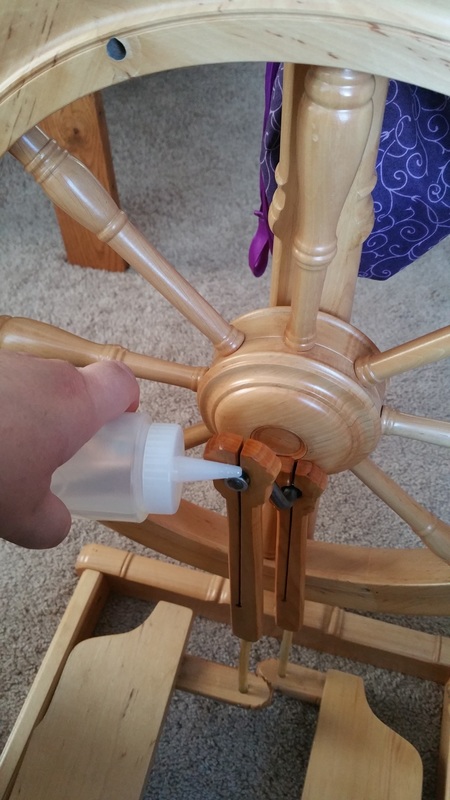
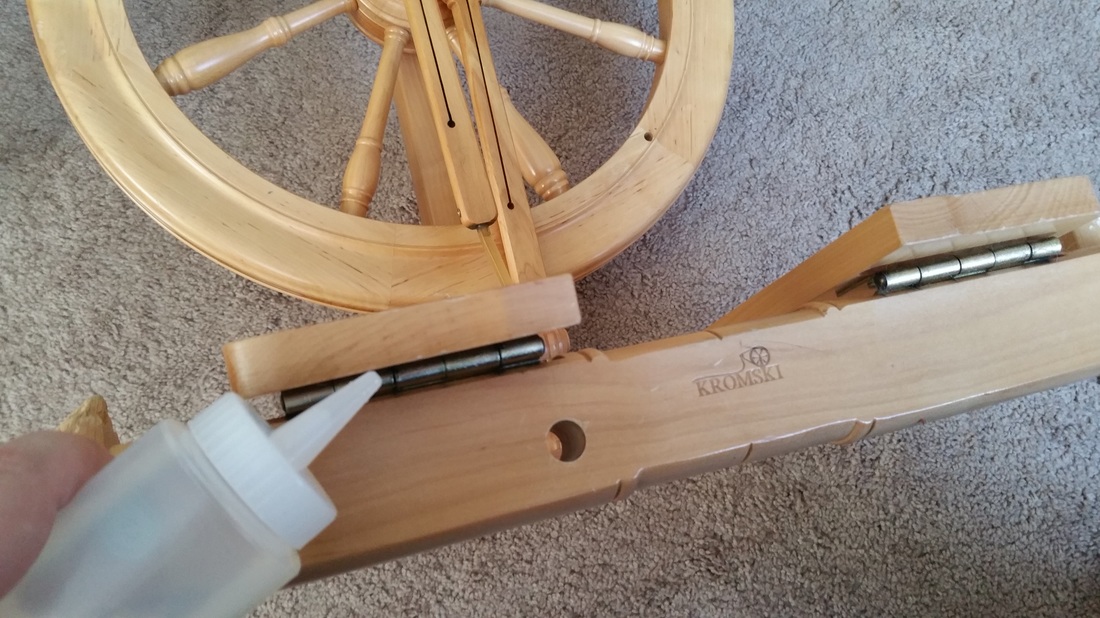
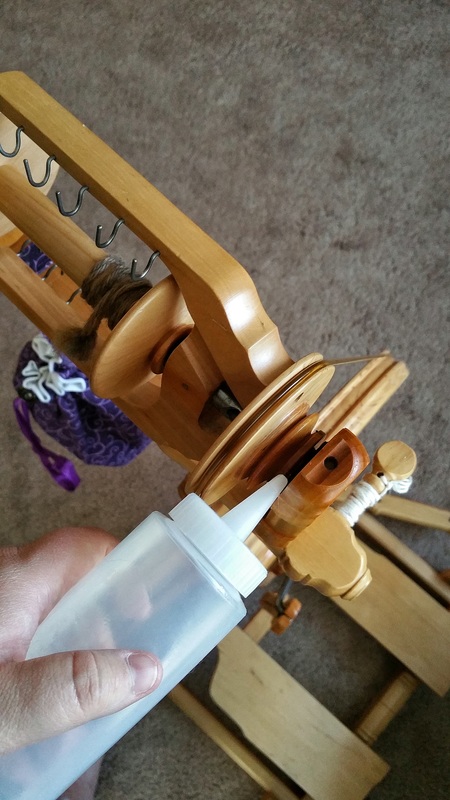
Tighten all screws to keep wobbly joints in place and replace any that are stripped. Your footman connectors may also have loose screws. Use an Allen wrench if necessary. I keep this and a little multi-tool in my spinning wheel bag so they are handy when I need them. To keep your wood looking nice, polish it up every once in a while using wax or a wood preserver, working in the direction of the grain. You can also buff your wheel with lemon essential oil which smells really good! Keep natural and stay away from using products like Pledge on your wheel because it can make the groove in the drive wheel too slippery and your drive band will slip. Don't wax whorls or bobbins for this same reason. Once you have everything all cleaned up, re-oil all the parts that move and cause friction and also where wood meets metal. There are a lot of oils on the market but I recommend liquid oils because they won't create instant gunk. I use mineral oil because it's inexpensive, it won't harm the wood and if you have small kids that might get into it, it's non hazardous. All of these steps are easy to do and hardly time consuming, and they really keep your wheel running smoothly. You should try to remember to oil your wheel at least every time you sit down to spin and keep your wheel out of direct sunlight and humid/moist areas. Dust it every now and then and keep an eye on it around pets (our basset hound Jenny chewed part of the base of my wheel when I wasn't paying attention!) If you treat your wheel nicely it will bring you years of great service. 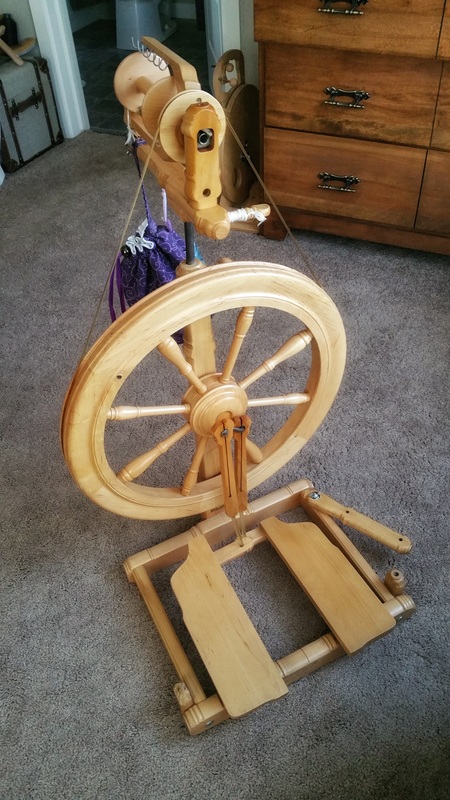 Look at that glow!!
0 Comments
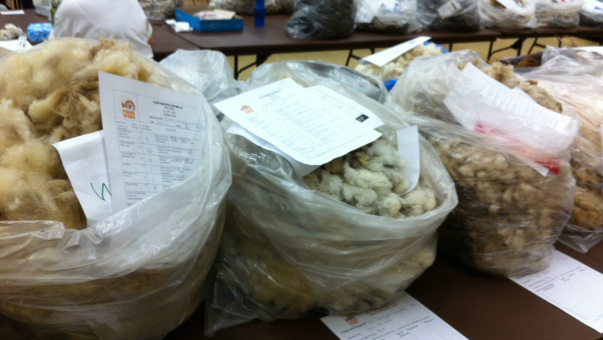
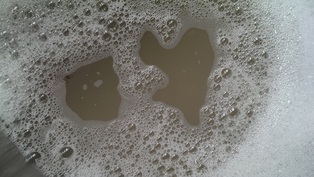
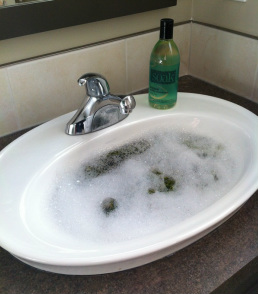
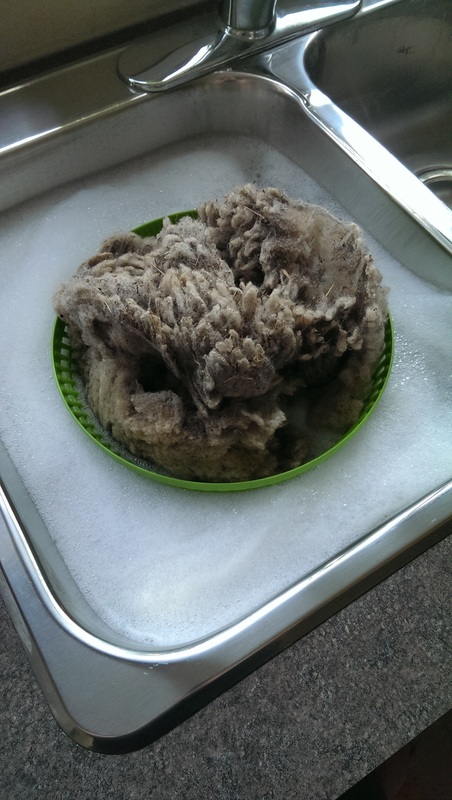
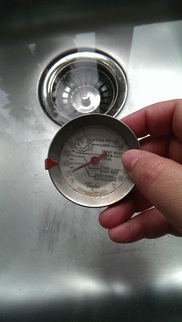
So you found an amazing fleece at a wool auction or fibre festival, awesome! Sometimes processing a fleece can be daunting but it doesn't have to be. It is very rewarding to work a project from start to finish. Some times your fibre can be pretty rank when it's full of - sweat, lanolin, manure, dirt and vegetable matter. The first thing you should think about doing is washing your fibre. In this tutorial, I will show you how I wash my fleeces. 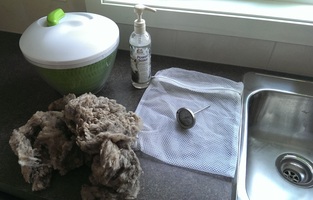 To start, gather all your necessities: - Thermometer - Laundry Bag - Wool Wash - Fibre Spinner (aka salad spinner) - Raw Wool - Sink/bath tub/basin 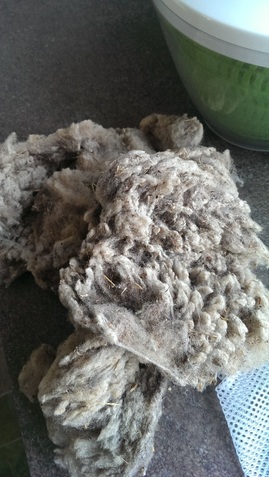 The fibre I am washing is from a Babydoll Southdown sheep. If you can see a fair bit of vegetable matter (VM) in your fleece, give it a shake outside to get rid of as much of it as you can. For wool wash, you will want something specific to your needs. Dawn works great because it cuts through grease and it is easy to find and fairly inexpensive. I use Pour Scour because it works amazingly well and it is made especially for dirty, raw fibre and washing is a breeze. Laundry bags help keep your fleece together while still letting the water and wool wash flow through your fibres. You can find these bags at the dollar store and they come in many sizes. They also make it easier when you are lifting your fleece out of the water, you can grab the bag and not handle the fleece as much. Washing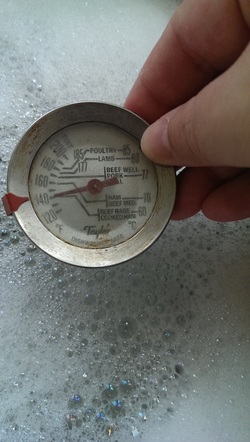 For your first wash, fill your sink or basin with very hot water. Ideally, to melt lanolin and other waxes you will want you water between 140 - 160F (60 - 70C). This is where your thermometer will come in handy. Add your wool wash. Follow the instructions for your particular wool wash. Power Scour suggests 5% of your fibre weight should be added to the initial bath. You will want your sink filled with enough water that your fleece will be covered and have room to float freely. Since my sample is small, I will be using the strainer that comes with my spinner which makes it super easy to lift out of the water and drain. 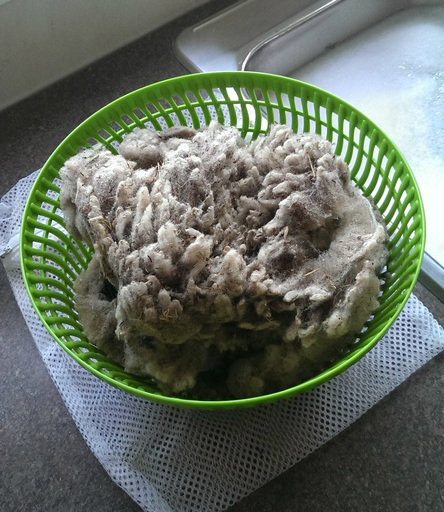
Place your laundry bag (or strainer) in the water and let it sink on its own. Try to handle your fleece (especially when wet) as little as possible. Felting occurs when you mix heat, soap and agitation, so be careful.
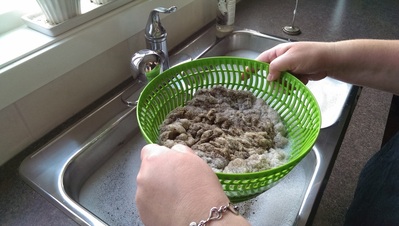 Let your fibre soak for about 20 minutes. You don't want the water to cool down too much between washes and you don't want to shock your fibres with dramatically different temperatures. Lift out your laundry bag or basket and let gravity help the water flow out. I gave mine a spin to get rid of as much as I could without squeezing the fibre.
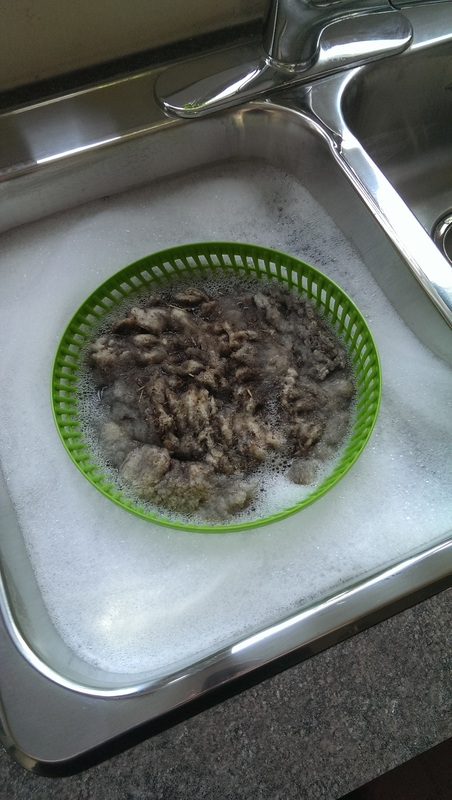
For my second bath, I want to use the same temperature water as I did in my first wash. 140 - 160F but this time slightly less soap (3% instead of 5%) I got my second bath ready just before my first bath was finished. Put your fibre in your new water and let it sink down. Wait for another 20 or so minutes. This time lets the wool wash do its magic, reducing tangles, cleaning your fibre and dissolving any solid matter like lanolin and other gunk that gets caught in the locks. 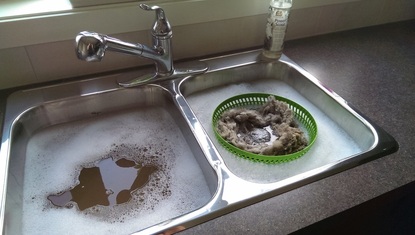
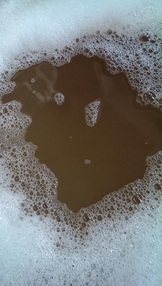
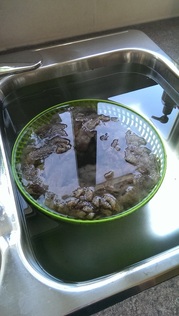
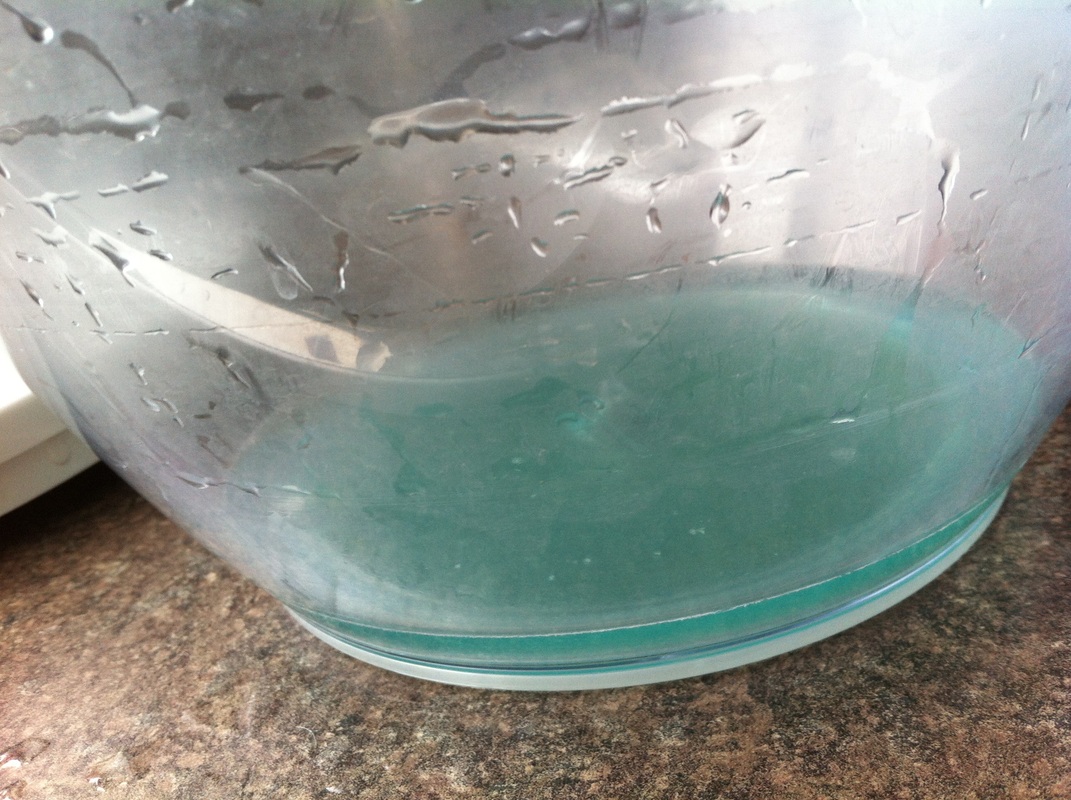
 Lift your fibre out of the water after its soak. You will see that your water is less dirty than your first wash. Excellent! Two washes is usually enough. We will be rinsing next and once you spin your yarn, you will be washing your skein and after you knit your project you will likely be washing your fibre again to block. Much of the VM will come out during the combing stage too. Two washes is usually enough but use your best judgement. Rinsing
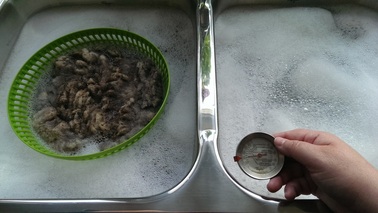
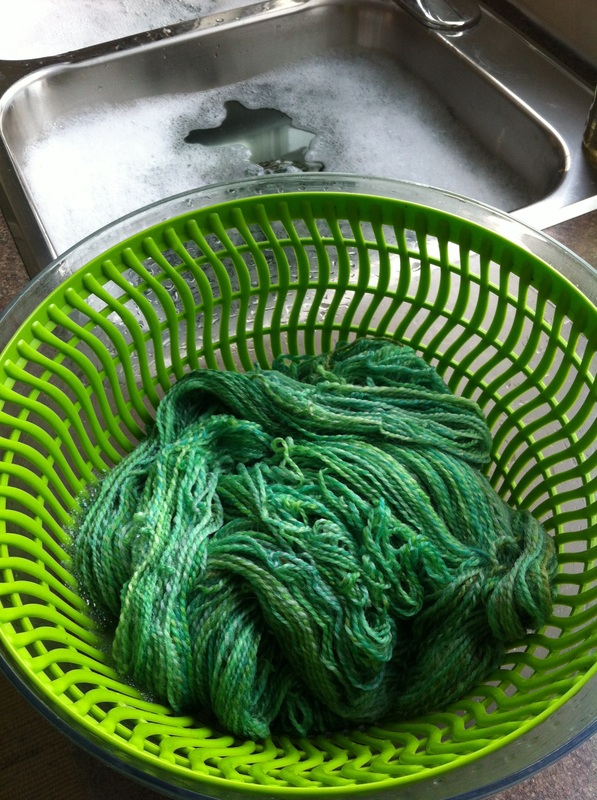
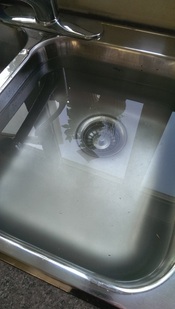 Let your fibre soak for 15 minutes or so and lift it out of the water. Rinse as many times as needed until your water is clear. As you can see this water is pretty clean. Perfect, looks like a good job! Lift out your rinsed fibre and give it a spin. Now you are ready to let it dry. 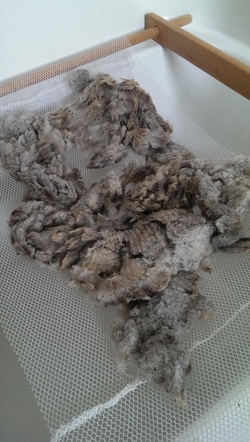 If you can do this outdoors your drying time will be cut in half. I rigged up a little drying rack using a laundry bag and some dowels in a frame that I set over my bathtub. I have since found a couple decent sized screens that work perfectly. Use what you have on hand. Open up your fleece as best as you can without handling the locks too much. Once your fleece is dry you are ready to comb, or card your fibre to prepare it for the yarn and project you have in mind.
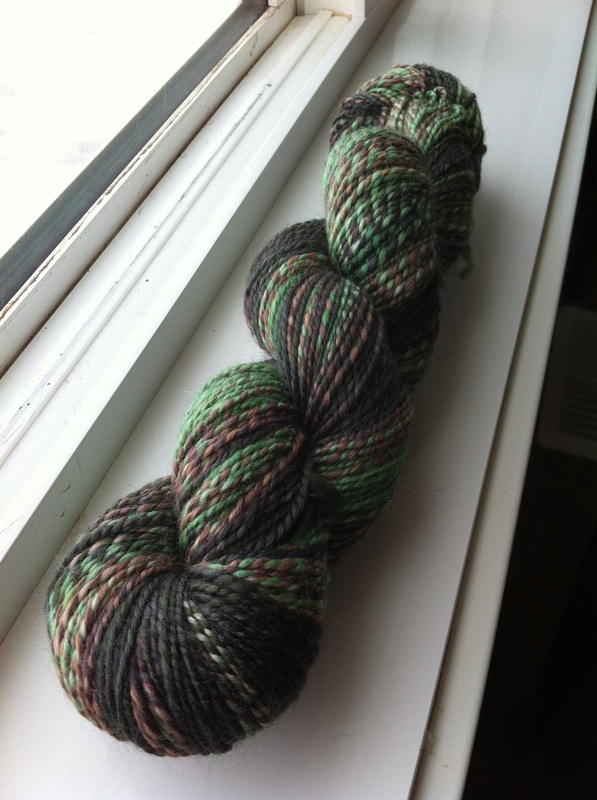
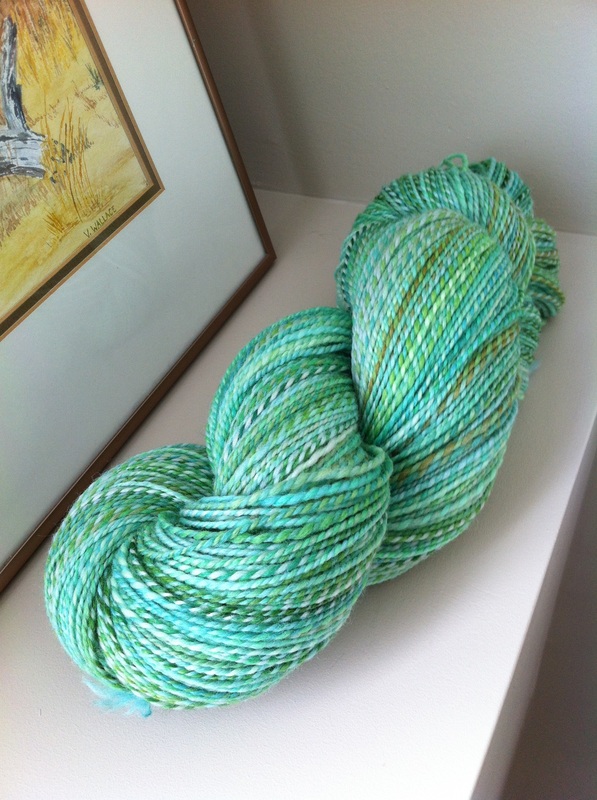
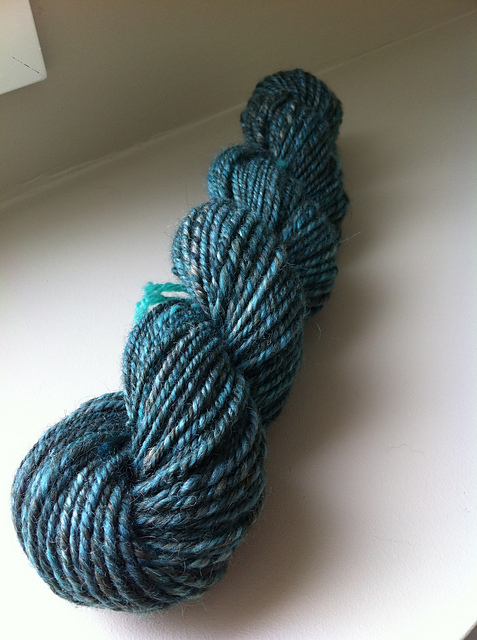
If you are washing a whole fleece at once, I suggest using your bath tub or a basin large enough to cover your wool. If you find it more manageable to section your fibre off and wash your fleece in small batches then that's perfectly fine too. Whatever is easiest for you and works with what you have in your home is the best option. If you aren't going to process your fleece soon after washing, store it in a plastic bag, and keep it in a cool, safe place away from pets and other curious critters. Hope you enjoyed this tutorial. This is the way I wash all my fleeces. If you have any questions just let me know. Maybe you have a tip or a hint that you use that makes washing your fleeces better, share it with me and I will add it to the notes with your name. After you finish spinning a skein of yarn, it's important to set the twist. This helps the energy in your yarn relax and it also helps the yarn bloom which shows you how a finished object made with your yarn will behave after it is washed. You don't want any surprises to show up. 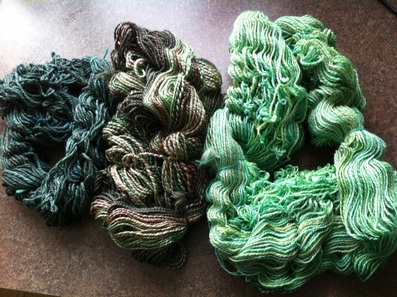 I started out with these 3 skeins. As you can see they still full of twist energy. I always overply my yarns and this is the result I end up with. (My very first skein of handspun yarn which I spindle spun and plied on a wheel was very "balanced looking" when I was finished, but when I went to knit with it, it was very underplyed = lesson learned). My samples are: Humbug Finnish, Merino/Silk and Finn wool. 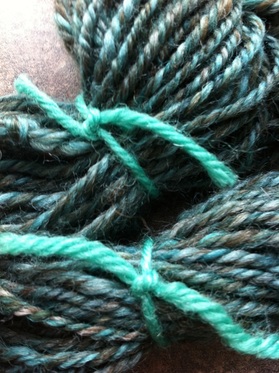
**Its very important to tie your skeins in at least 3 places. This prevents tangles and tears 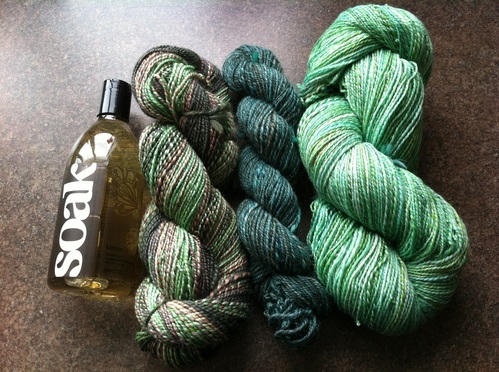
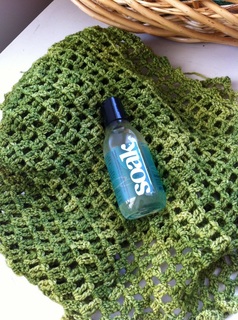
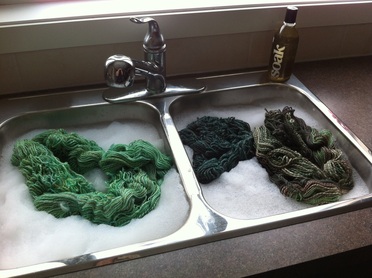 Fill your basin/sink with warm water and a bit of Soak wash. Place your skeins in the water and gently submerge them to release any air bubbles. Make sure the skeins are completely wet. Let the water & wool wash flow through your fibres for at least 15 - 20 minutes.
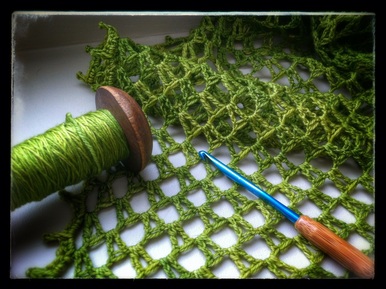
Now for the fun part - thwacking! I find this really helps my skeins relax and it releases a ton of built up energy. Take the damp skein out of the salad spinner and hold it with your arms outstretched. Bring your hands close together and then very quickly open your arms wide and your skein will make a slapping sound. I have demonstrated this step in this quick video: You can also hit your skein along the side of your tub or another hard surface. 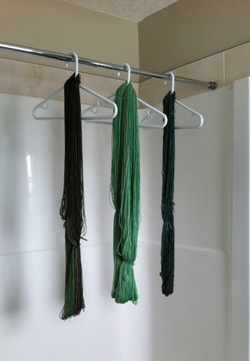 Hang your skeins in a warm place to dry. *This step goes really fast if its nice and hot and you can hang these outside. You can see how much they have relaxed compared to the first photo. Now after all of this, I should also say, that your don't HAVE to do this. There are no spinning police. If you don't want to set the twist, that's fine, just keep in mind that your yarn will behave differently when working with it. If you want an energized yarn then perfect :) Let me know if you have any questions and happy spinning!
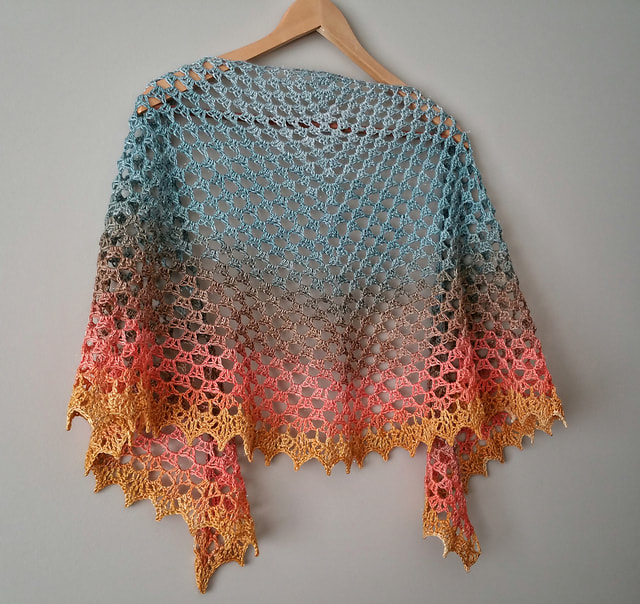
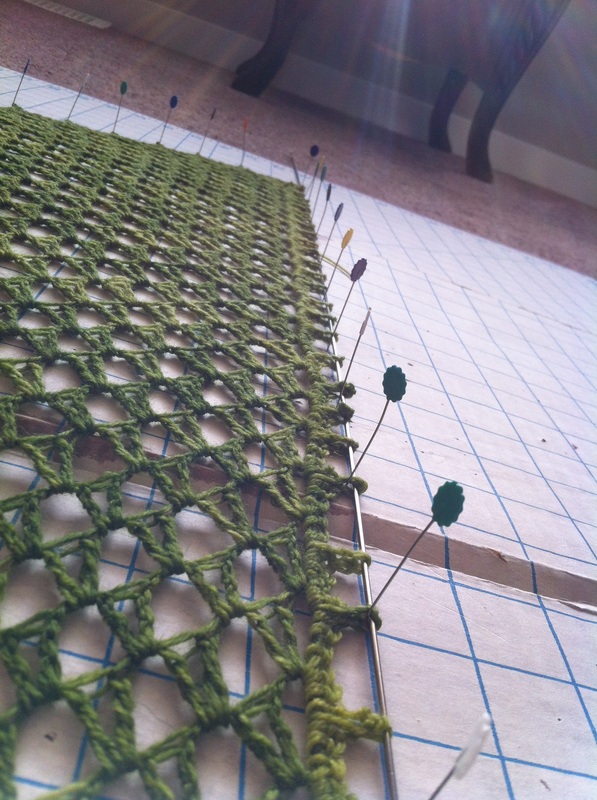
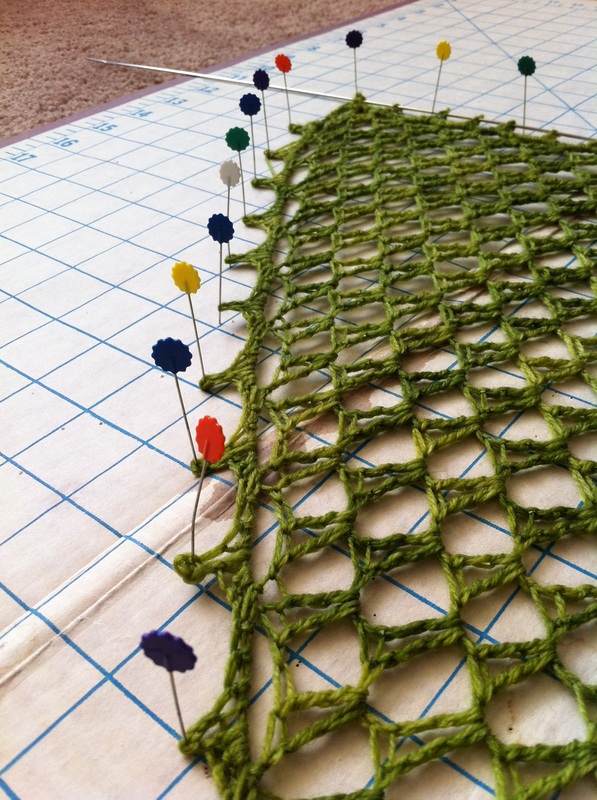
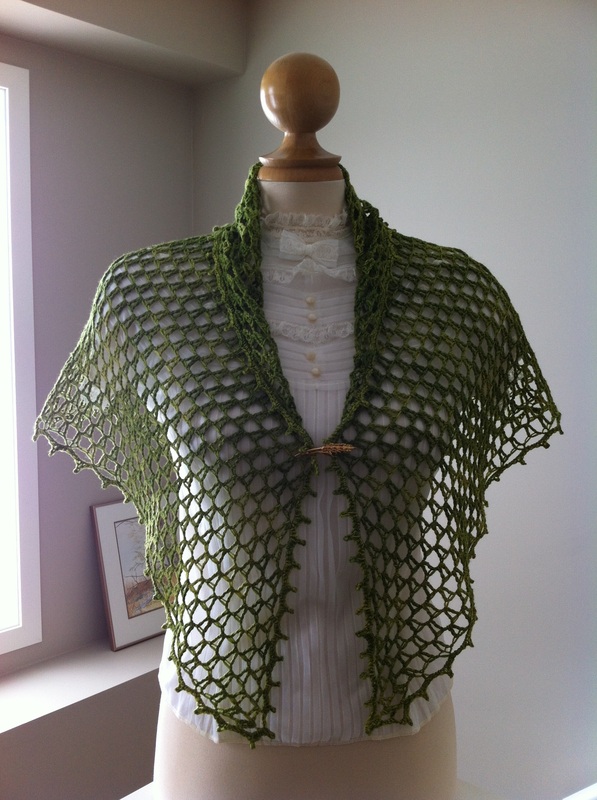
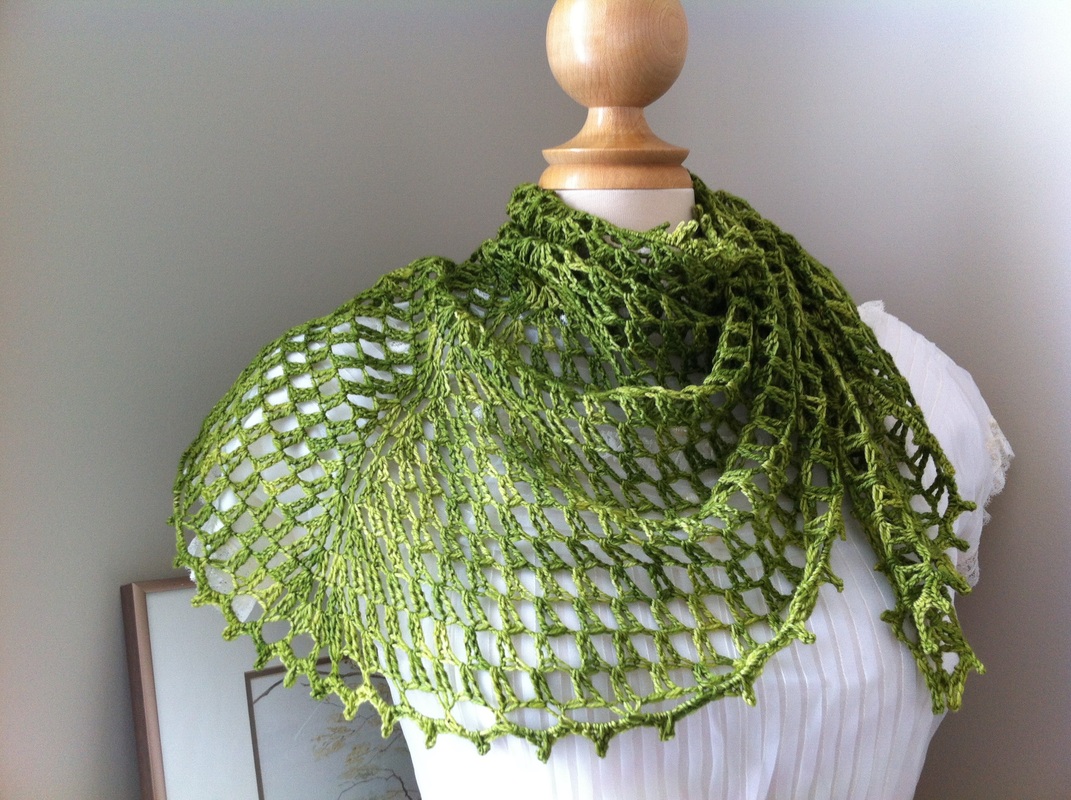
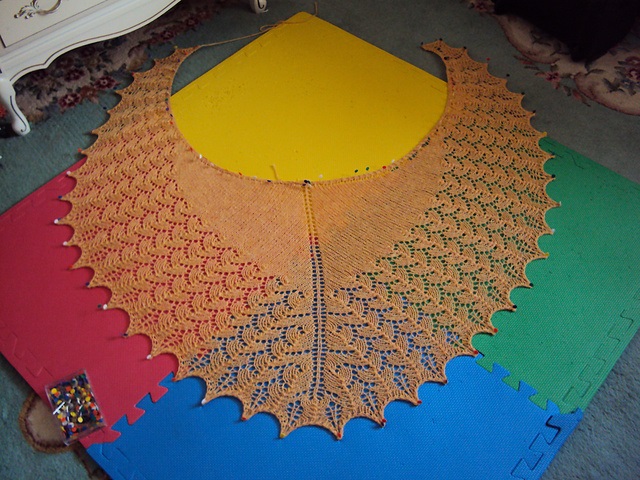
 When doing lace work, its essential to block your finished project to really bring out the pattern and show off your hard work. In this tutorial, I will show you how I block all my lace knitting/crocheting and prove to you that blocking isn't scary and show you what a huge difference it makes. I crocheted the Mia's Lace Collar from Piecework May/June 2013 using Malibrigo Sock in the Lettuce colourway. The project is semi-circular and has a very nice granny-style main section with a beautiful picot border. I wanted to block this project to accentuate the picot points and make the shawl larger. I gathered my materials: Blocking wires, pins, salad spinner, blocking mat, and a wool wash. 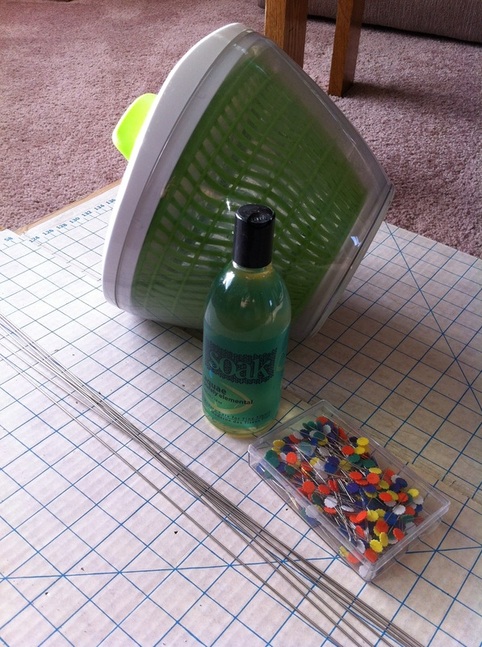 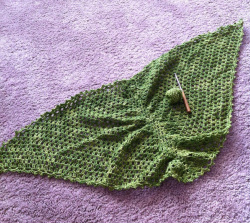 Before blocking my shawl measured 42" X16" you can see that it needs to be opened up in the middle. Doesn't look like much does it? I also should mention that I don't weave in my ends until after blocking. Since I am going to be stretching out the shawl, I find that if I weave in my ends beforehand, they kinda get pulled out a bit so if I wait until afterwards I can weave them in and hide the ends better.
 I let my items soak for about 15-20 mins. This lets the water and wool wash work its way through the fibres softening and opening them up. Remember not to add too much soap, a little goes a long way. 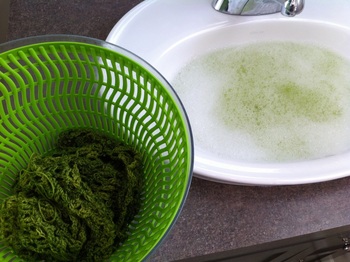 When the time is up, bring out your shawl and put it in the salad spinner. This tool saves time and energy :) Spin all the excess water out of your shawl. You don't want to wring out your lace, this could cause a bit of felting and won't get out as much water as the salad spinner will. You can also roll up your project in a towel to remove water but again, the salad spinner is faster. You may find that the yarn colour will bleed a little, this is ok and it is also another good reason to block these types of projects before wearing. Now we are ready to block!
Once I have the top centered and stretched to as large as I wanted, I worked my way down each side pinning out each picot point. I made sure the centre spine of my shawl was centered and stretched down as far as I could. Once your shawl is pinned, you can adjust as you need, blocking harder or evening the points out. If you are using blocking wires this becomes very easy. 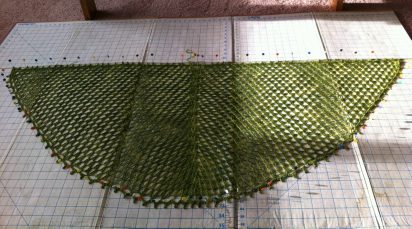 Once you have everything pinned, leave your shawl to dry completely. This ensures it holds its blocked shape. After blocking my shawl measures 60" X 22" and as you can see, its shape is much more pronounced than it was originally.
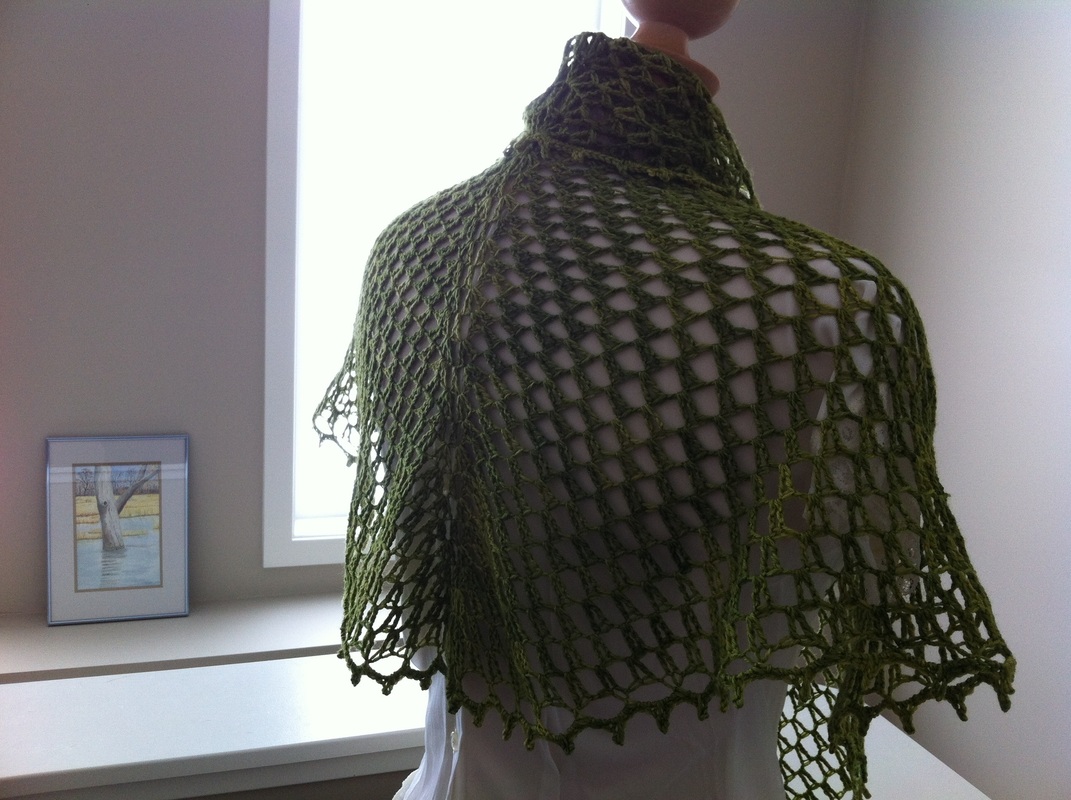
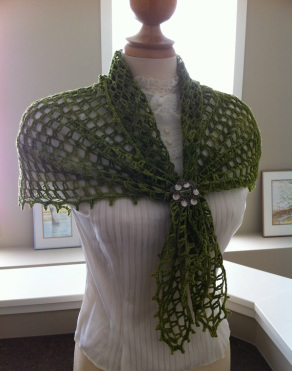
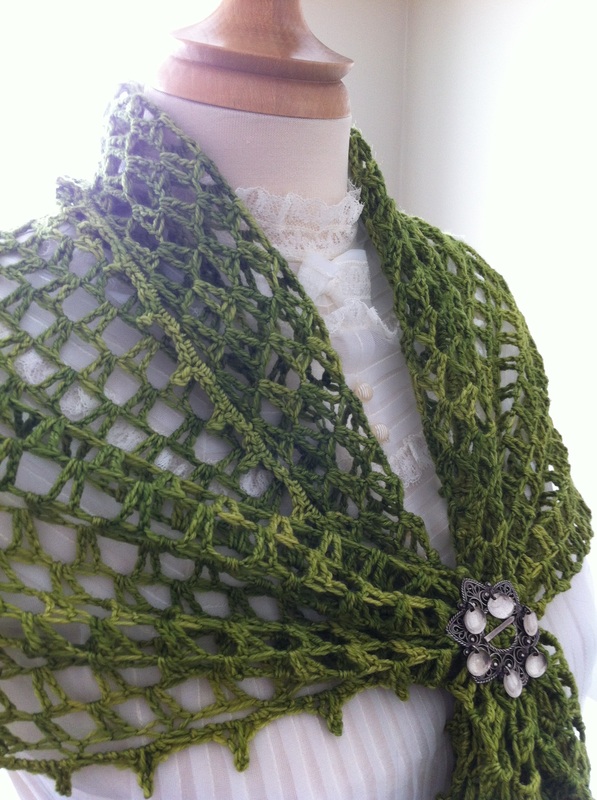
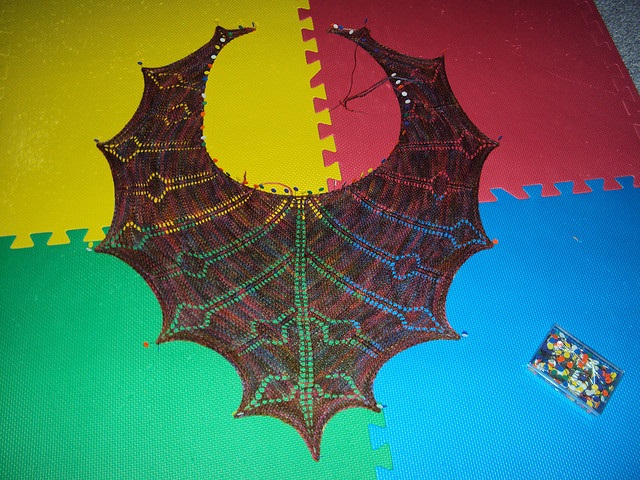
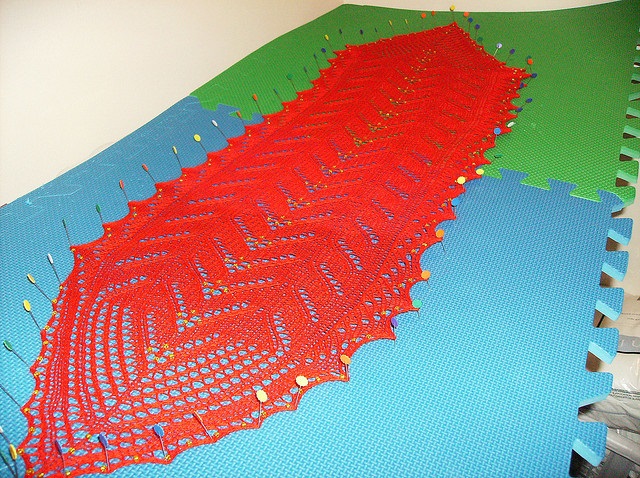
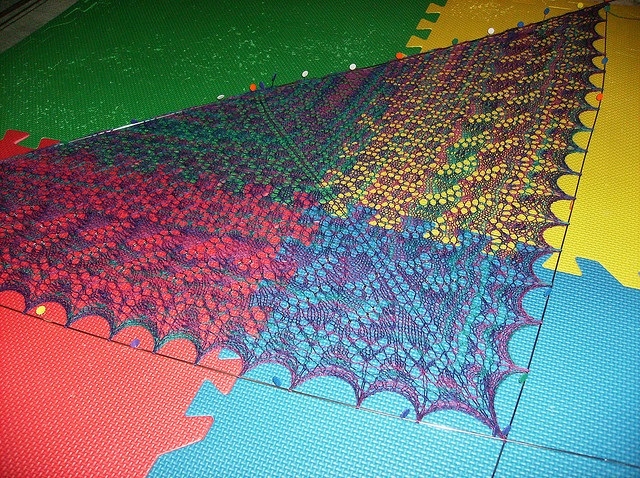
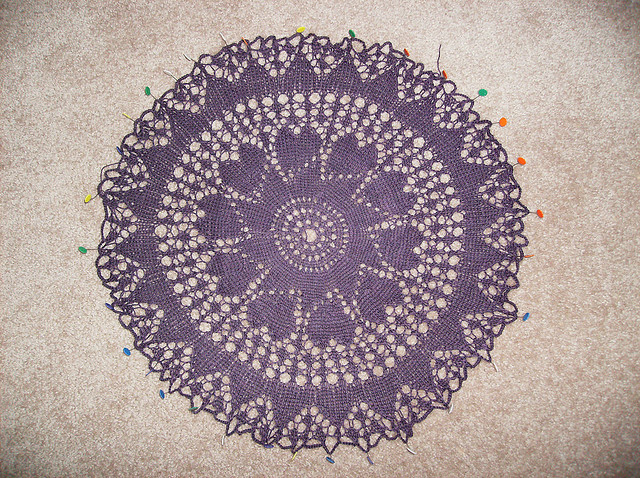
Here are some other lace shawls I have made and blocked using wires and pins. You can also see how I used wires to my benefit depending on the shape of the shawl. I hope you found this tutorial useful. Let me know if you have any tips or tricks when blocking and I'd also love to see your blocked projects :)
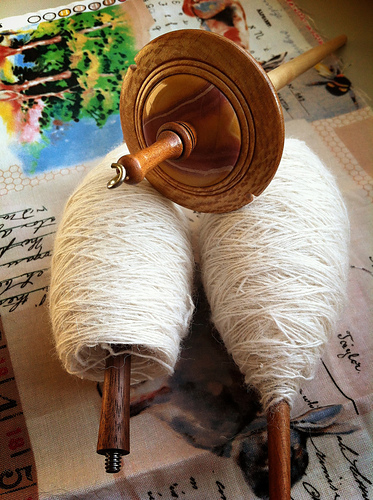
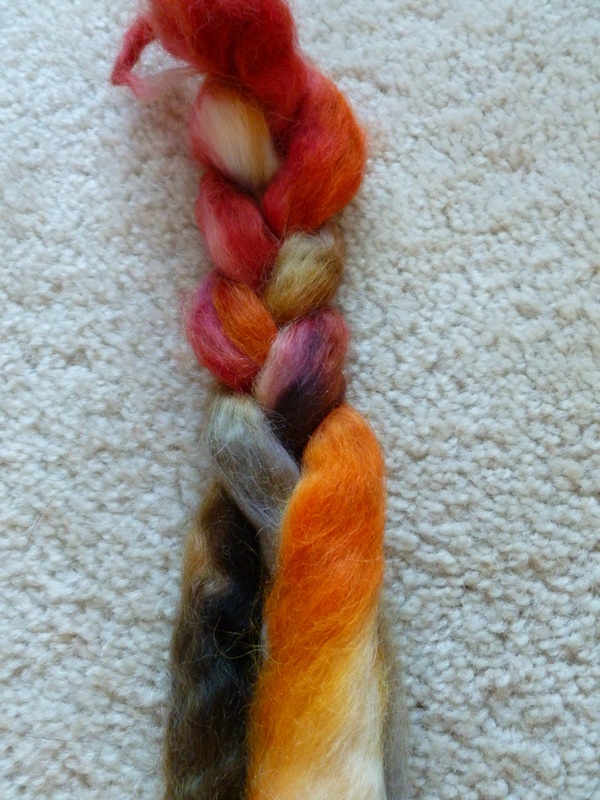
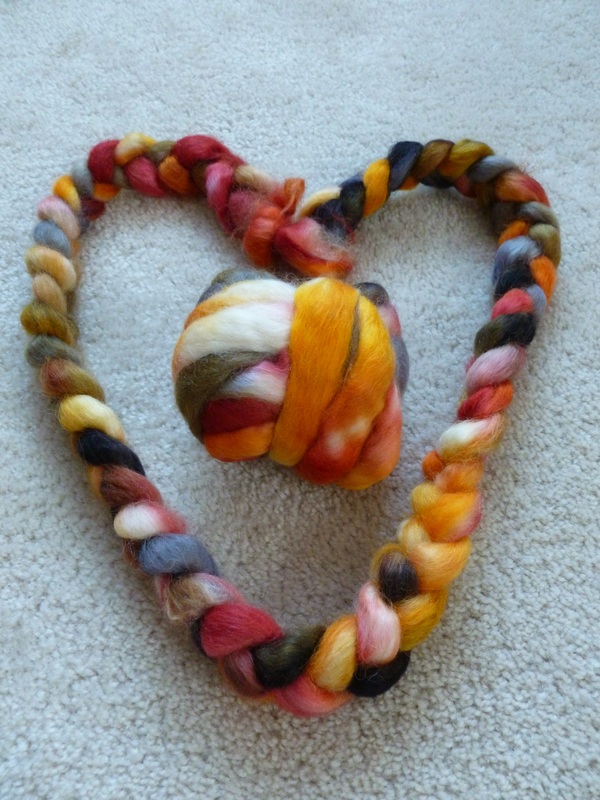 You know when you buy fibre and it comes in a nice neat braid? Ever wanted to know how to do this? This quick picture tutorial will show you how I braid my fibre. The reason I like braids is because they are nice and compact which makes it easier for me to store (or hide), ship or might even help you dye fibre in a cool way. I will be using 4 oz of Wendsleydale wool in the colourway "Not So Sea Worthy" dyed by Amy King of Spunky Eclectic. Just a note, if you ever want to join a fibre club, I highly recommend this one. Step 1: Lay out your fibre into a "N" shape
Step 2: Start at one end and just loop the tip around the other two ends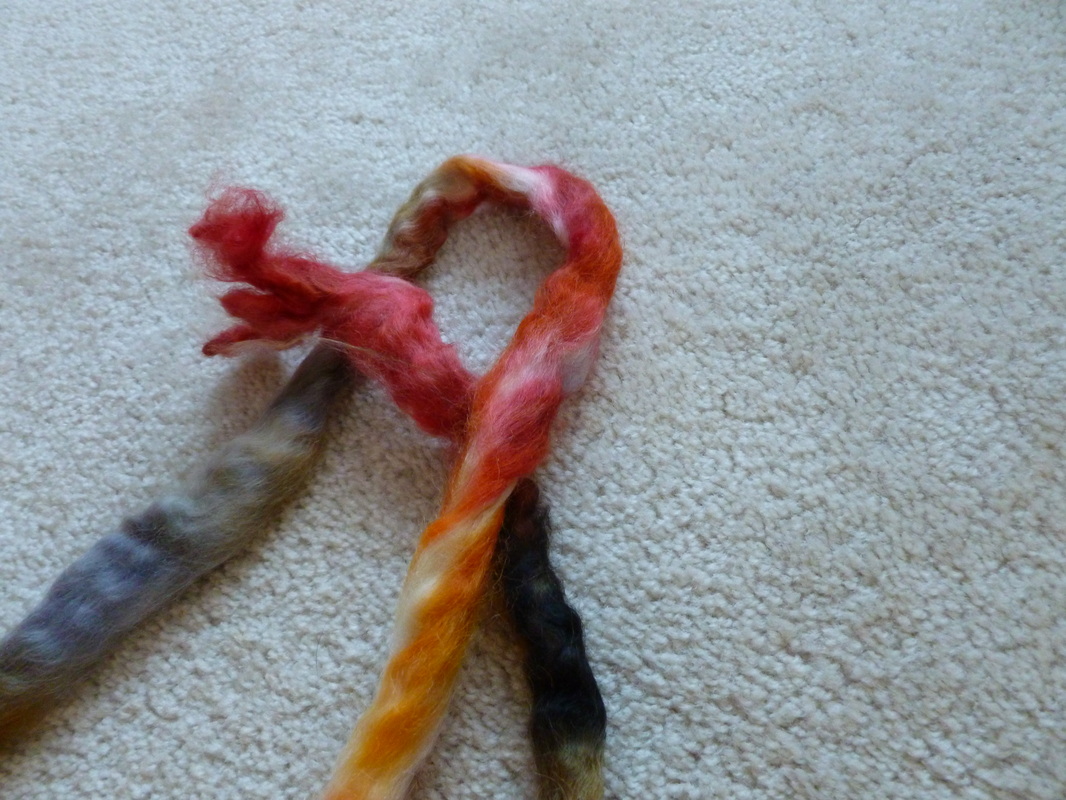
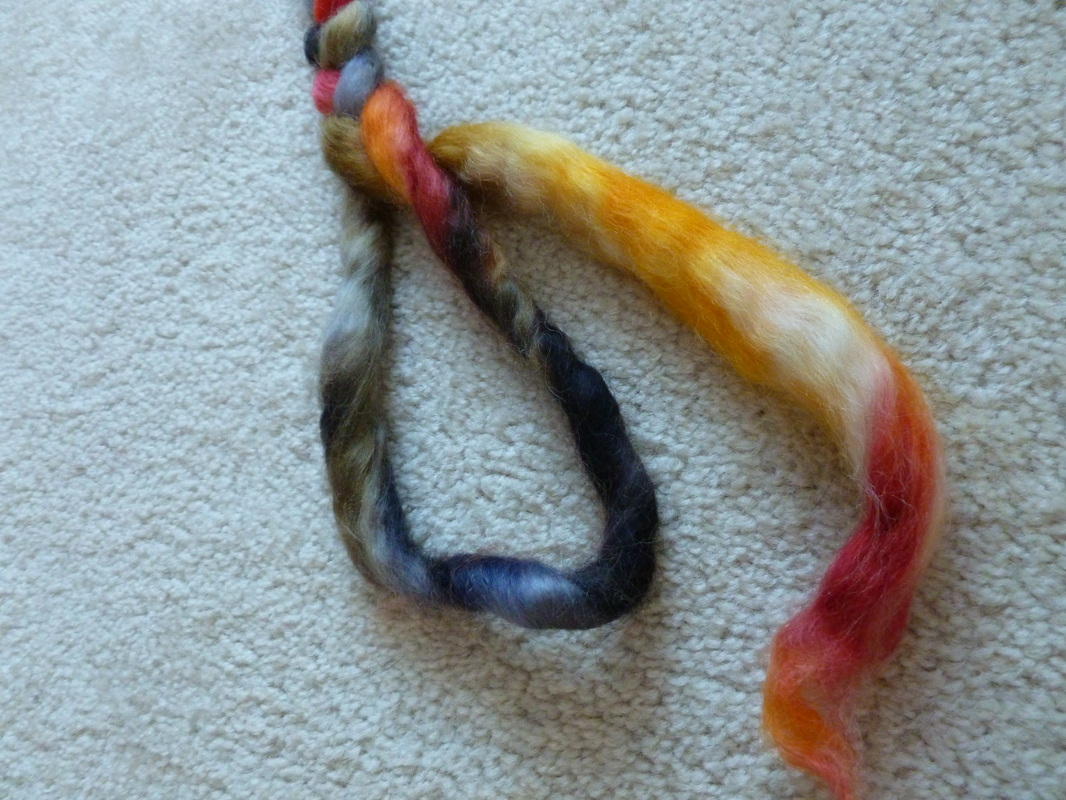
Step 3: Start braiding your three strand together (you will have to untangle the fibre as you go. Continue until you are close to the end
Step 4: Once you reach the end, tuck in the loose end to the loop created by the other 2 strands. Now wasn't that easy?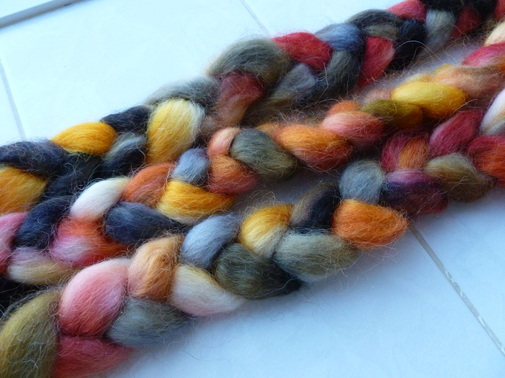
 I had some hankies I wanted to dye to make the mawata mitts like the Yarn Harlot. I used this tutorial (sorry some of the pictures are blurry) I used about 44 g of silk and soaked them in vinegar for a day 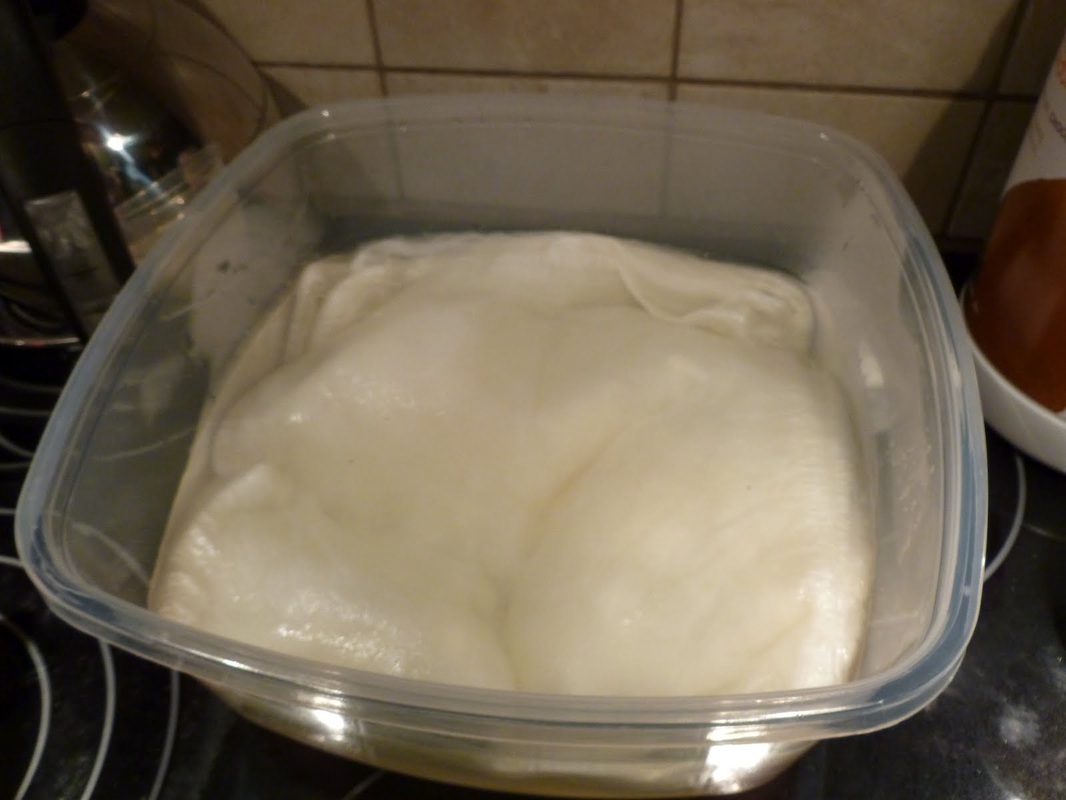 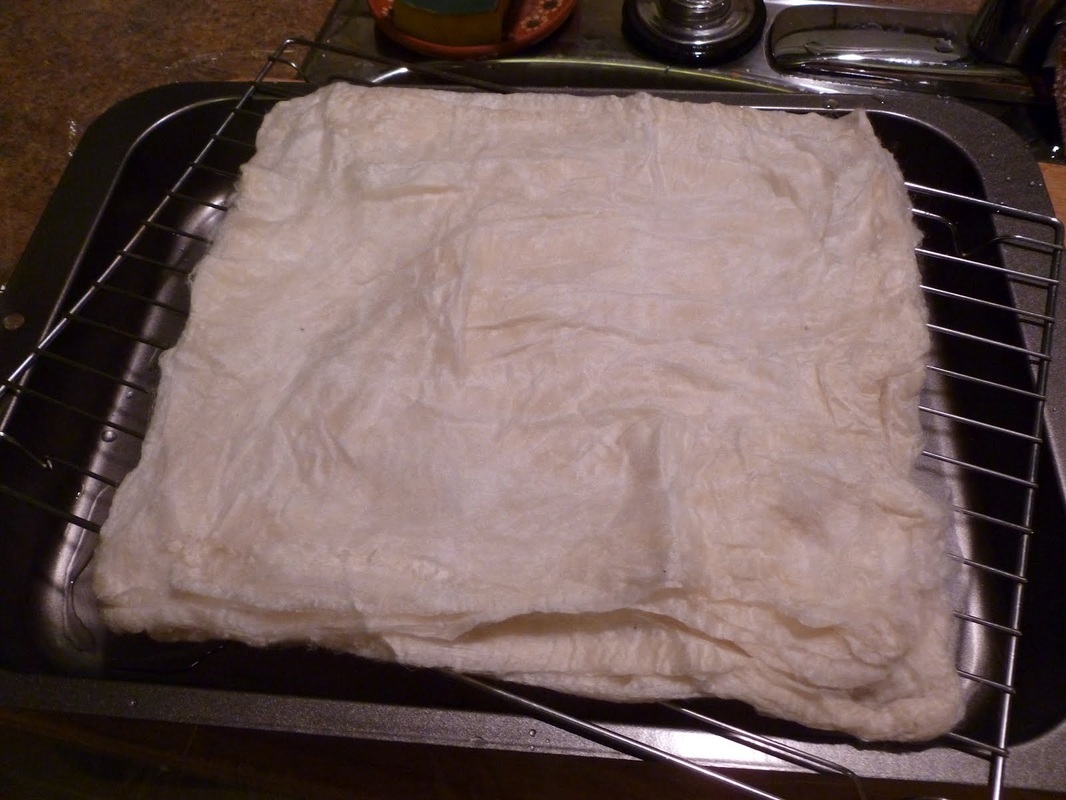 As the hanky was draining, I got my dyes ready 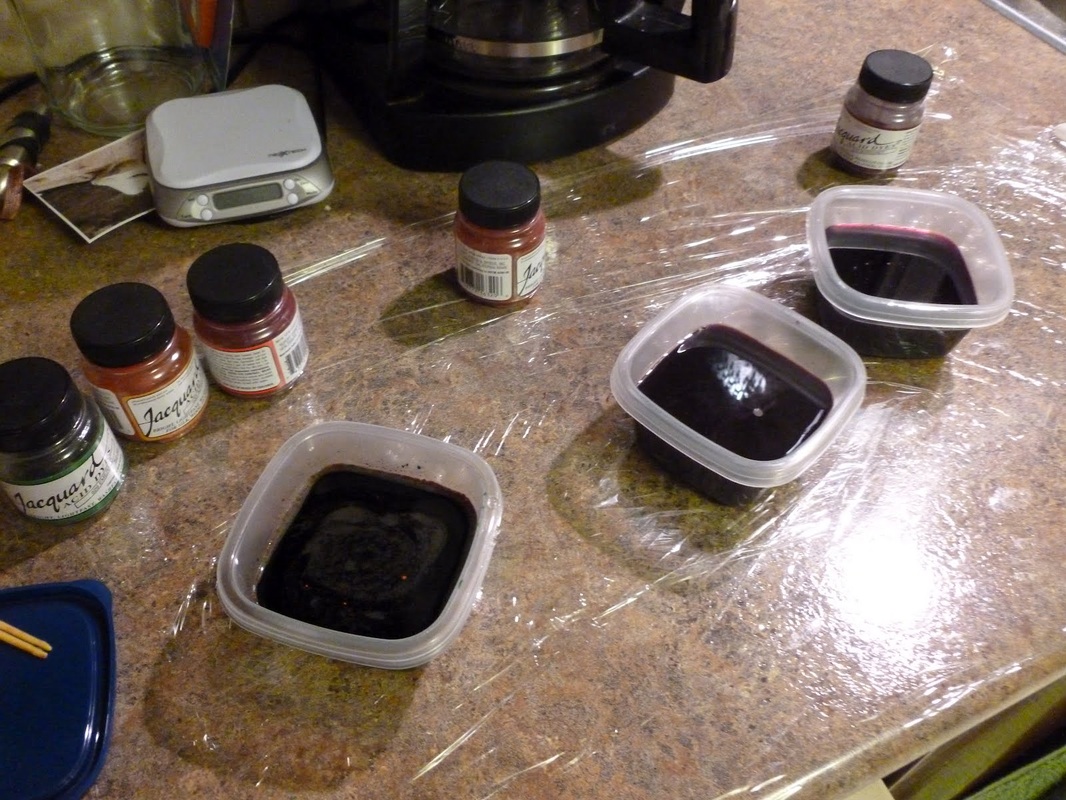 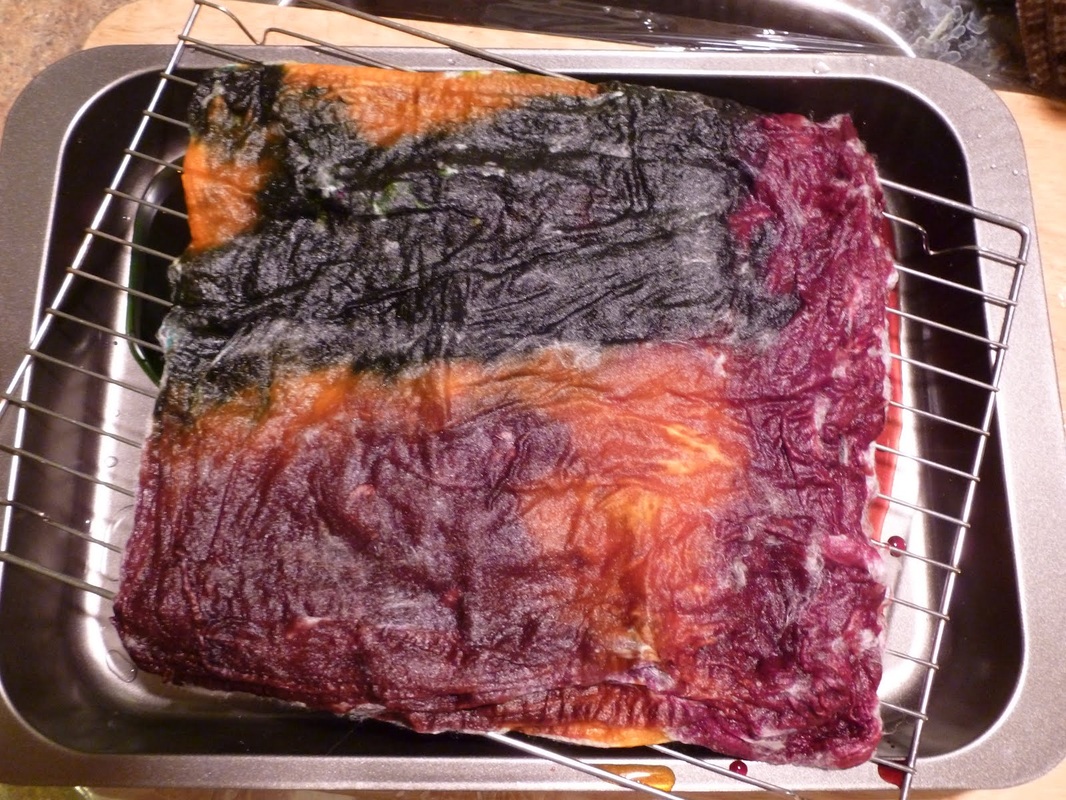 I poured my dyes on and let them sit for a while to penetrate the hankies 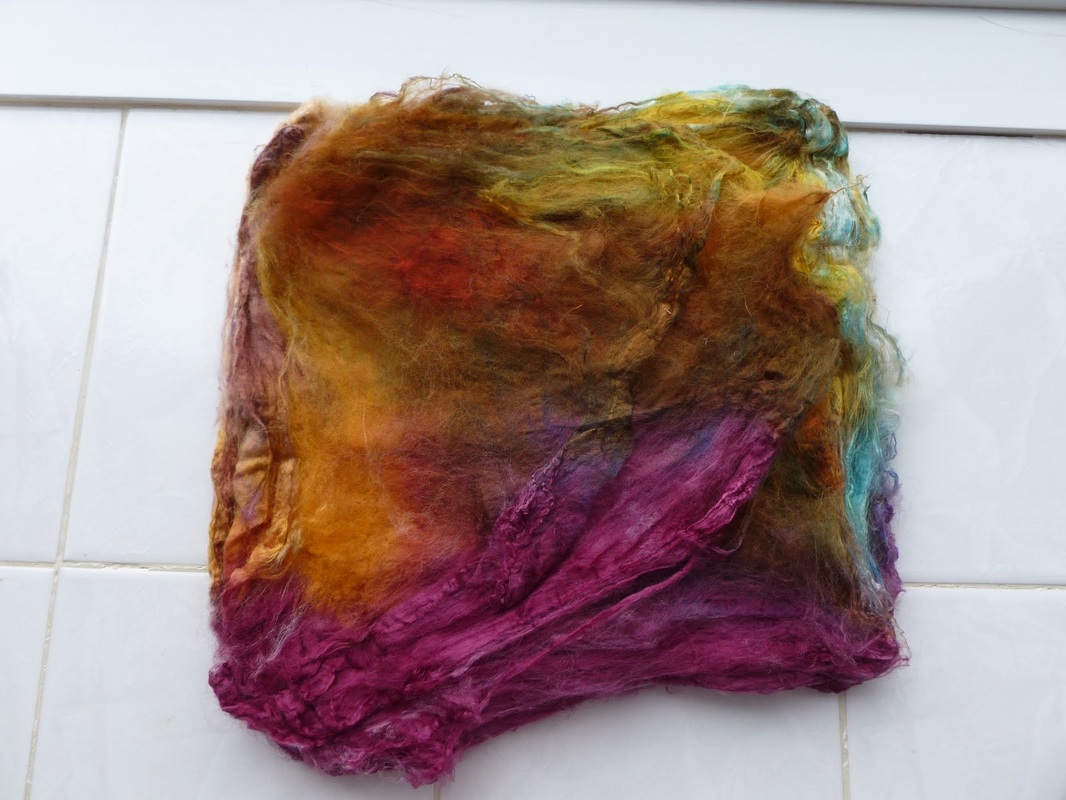 I then baked them in the over at 185F for 30 mins. When I took them out I let them sit in warm warter again ans let some of the dye leech out. I hung them up to dry and they came out way different than I expected lol
I am going to try it again but the next time I am going to split the stack in half so the dye penetrates evenly. and both mitts will be the same(ish). It was fun though! |
Follow Me:

Patterns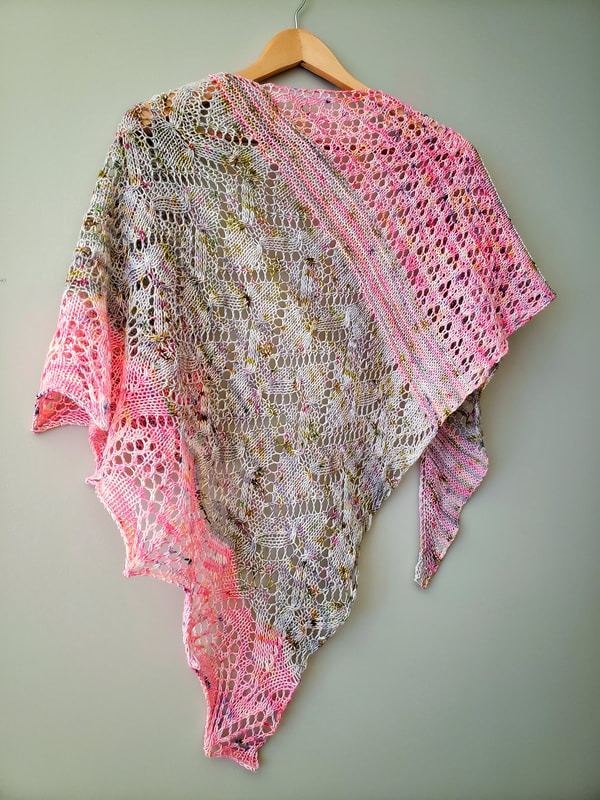

Categories
All
Archives
August 2023
|


 RSS Feed
