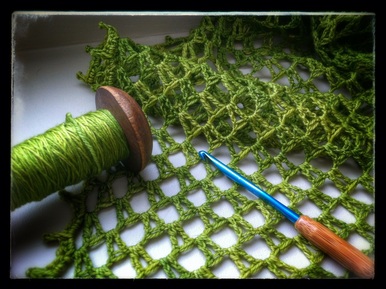
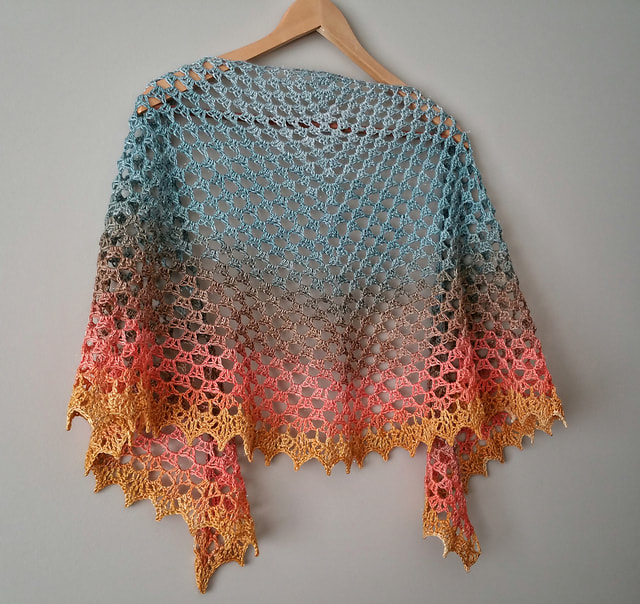
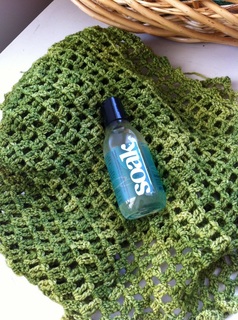
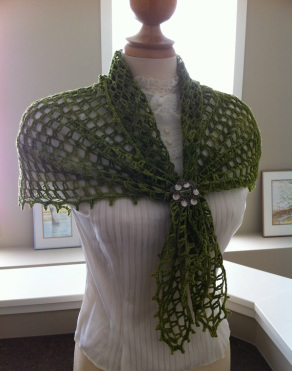
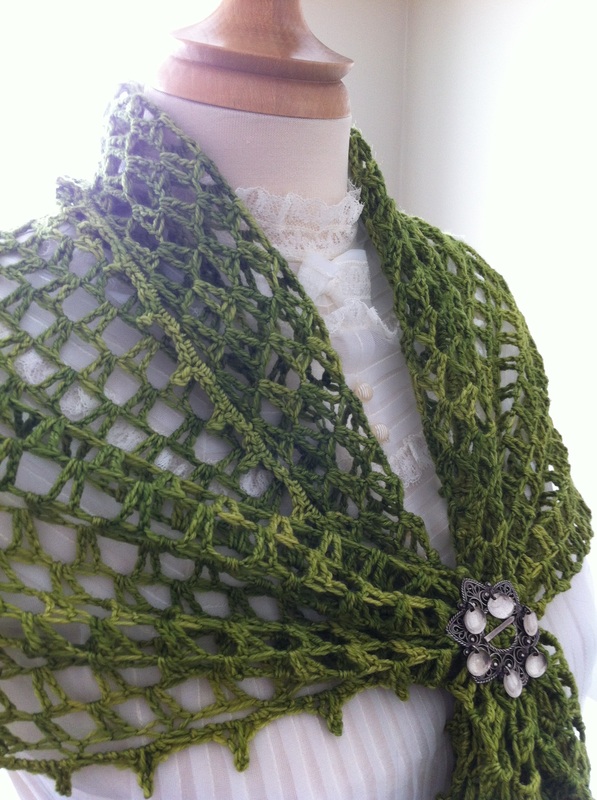
 When doing lace work, its essential to block your finished project to really bring out the pattern and show off your hard work. In this tutorial, I will show you how I block all my lace knitting/crocheting and prove to you that blocking isn't scary and show you what a huge difference it makes. I crocheted the Mia's Lace Collar from Piecework May/June 2013 using Malibrigo Sock in the Lettuce colourway. The project is semi-circular and has a very nice granny-style main section with a beautiful picot border. I wanted to block this project to accentuate the picot points and make the shawl larger. I gathered my materials: Blocking wires, pins, salad spinner, blocking mat, and a wool wash. 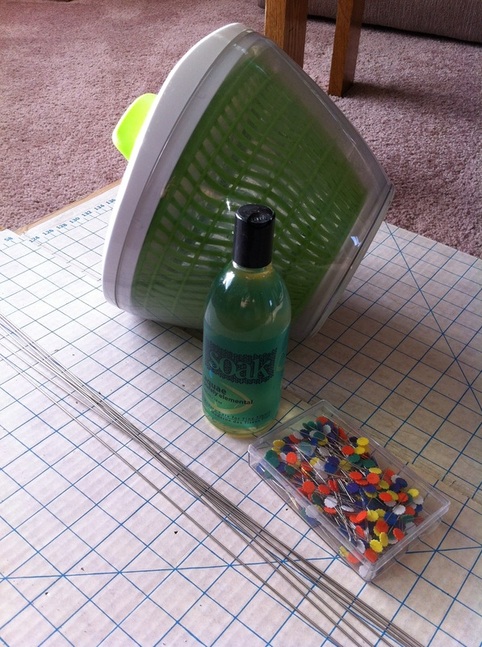 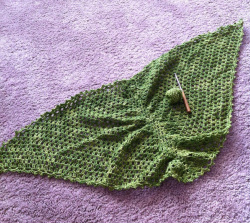 Before blocking my shawl measured 42" X16" you can see that it needs to be opened up in the middle. Doesn't look like much does it? I also should mention that I don't weave in my ends until after blocking. Since I am going to be stretching out the shawl, I find that if I weave in my ends beforehand, they kinda get pulled out a bit so if I wait until afterwards I can weave them in and hide the ends better.
 I let my items soak for about 15-20 mins. This lets the water and wool wash work its way through the fibres softening and opening them up. Remember not to add too much soap, a little goes a long way. 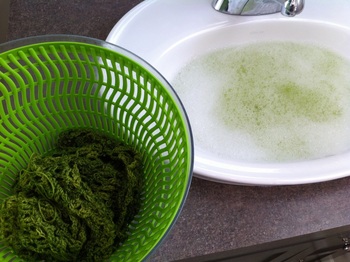 When the time is up, bring out your shawl and put it in the salad spinner. This tool saves time and energy :) Spin all the excess water out of your shawl. You don't want to wring out your lace, this could cause a bit of felting and won't get out as much water as the salad spinner will. You can also roll up your project in a towel to remove water but again, the salad spinner is faster. You may find that the yarn colour will bleed a little, this is ok and it is also another good reason to block these types of projects before wearing. Now we are ready to block!
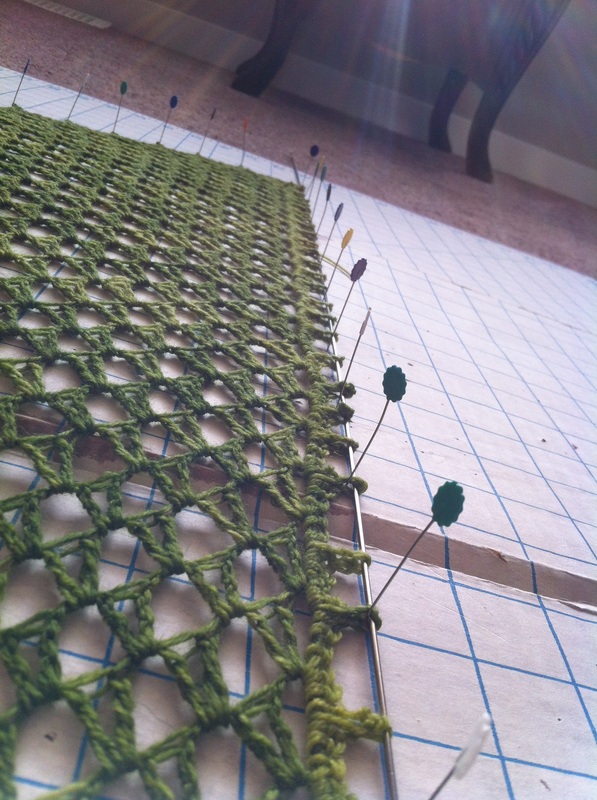
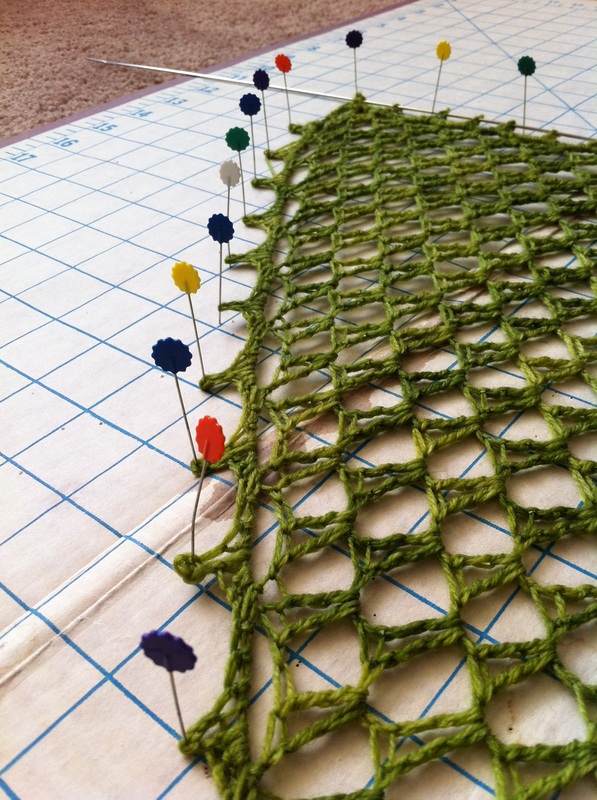
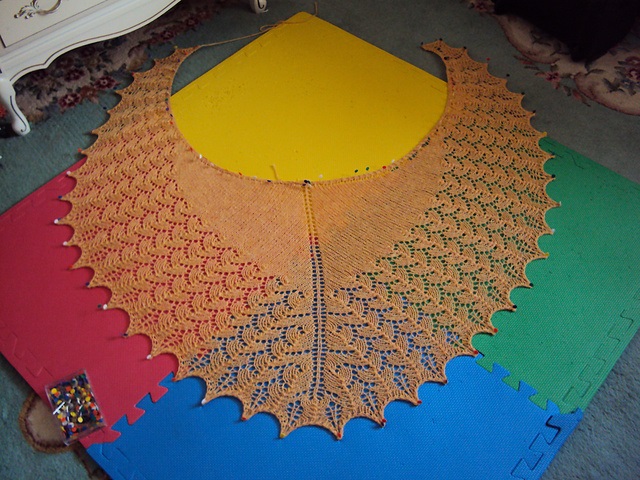
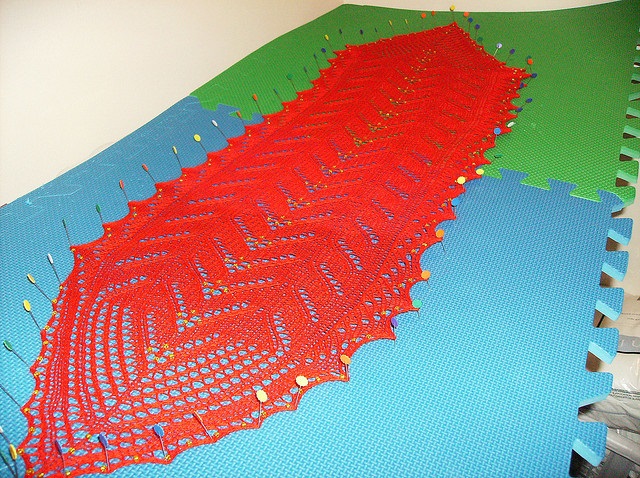
Once I have the top centered and stretched to as large as I wanted, I worked my way down each side pinning out each picot point. I made sure the centre spine of my shawl was centered and stretched down as far as I could. Once your shawl is pinned, you can adjust as you need, blocking harder or evening the points out. If you are using blocking wires this becomes very easy. 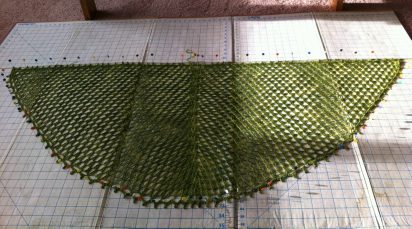 Once you have everything pinned, leave your shawl to dry completely. This ensures it holds its blocked shape. After blocking my shawl measures 60" X 22" and as you can see, its shape is much more pronounced than it was originally.
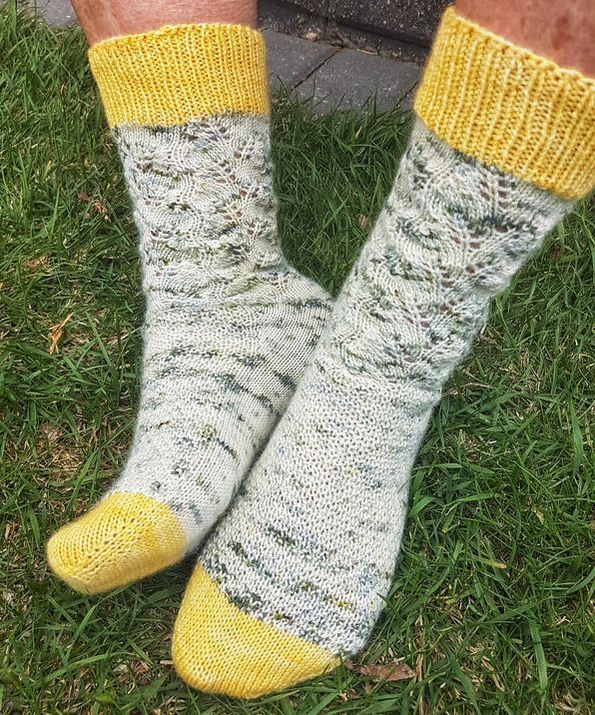
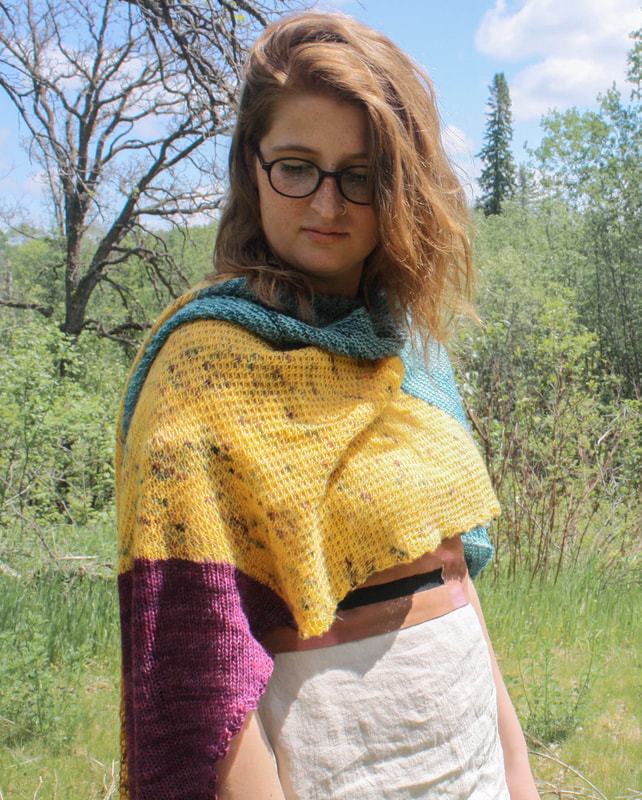
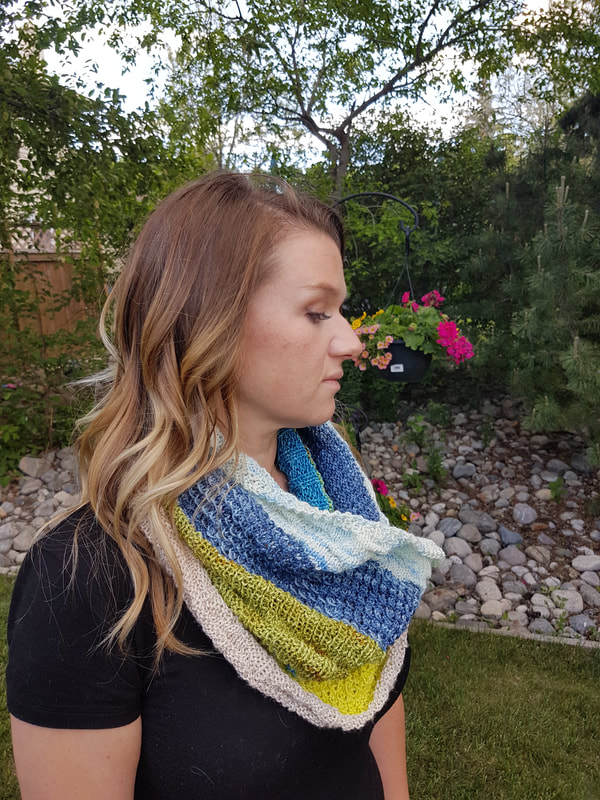
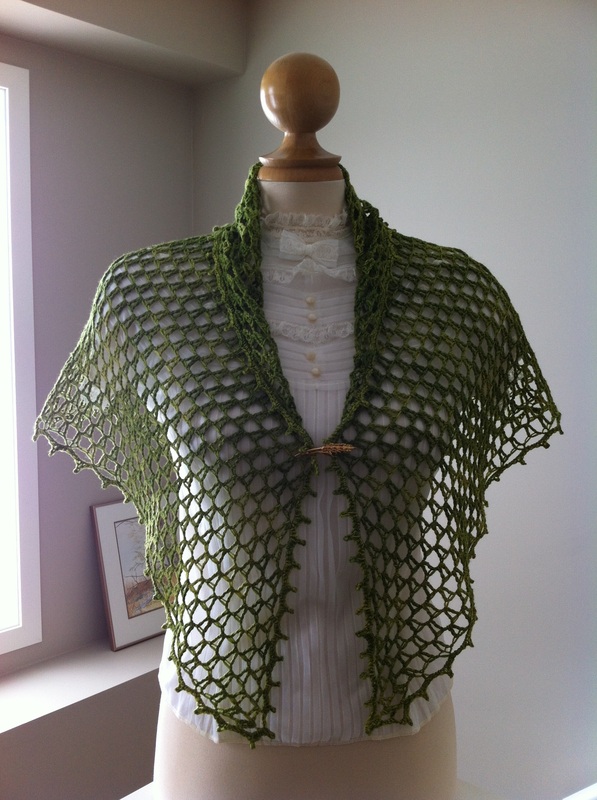
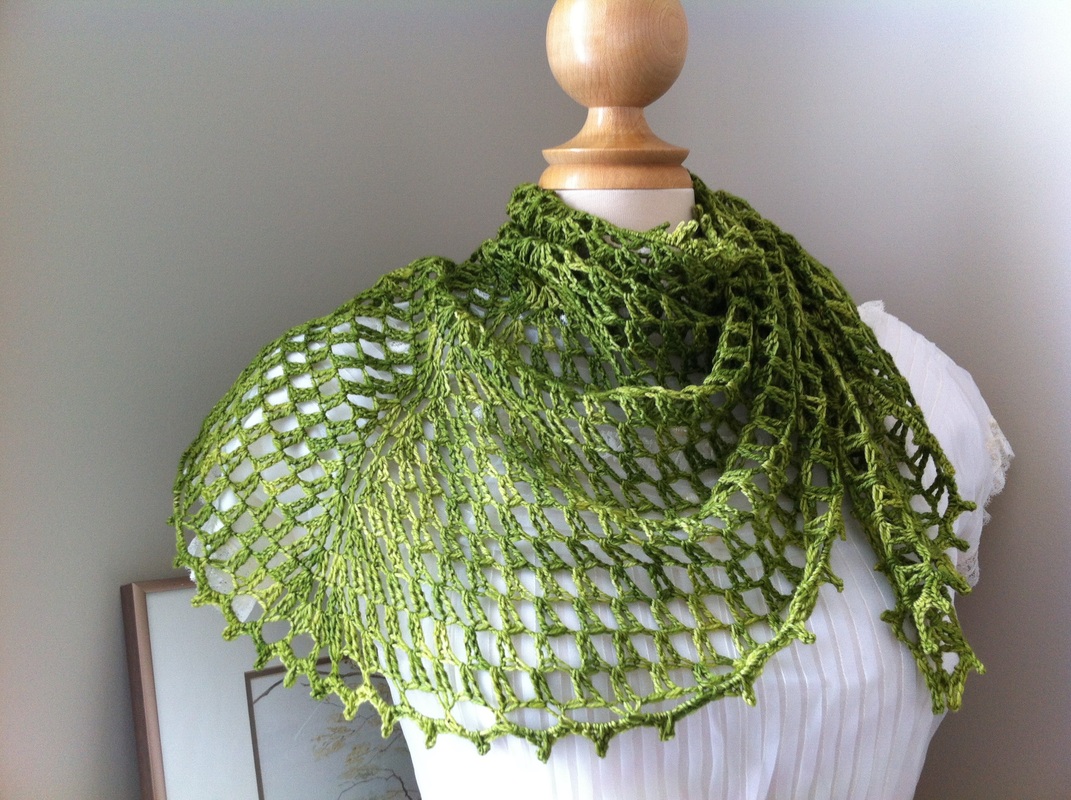
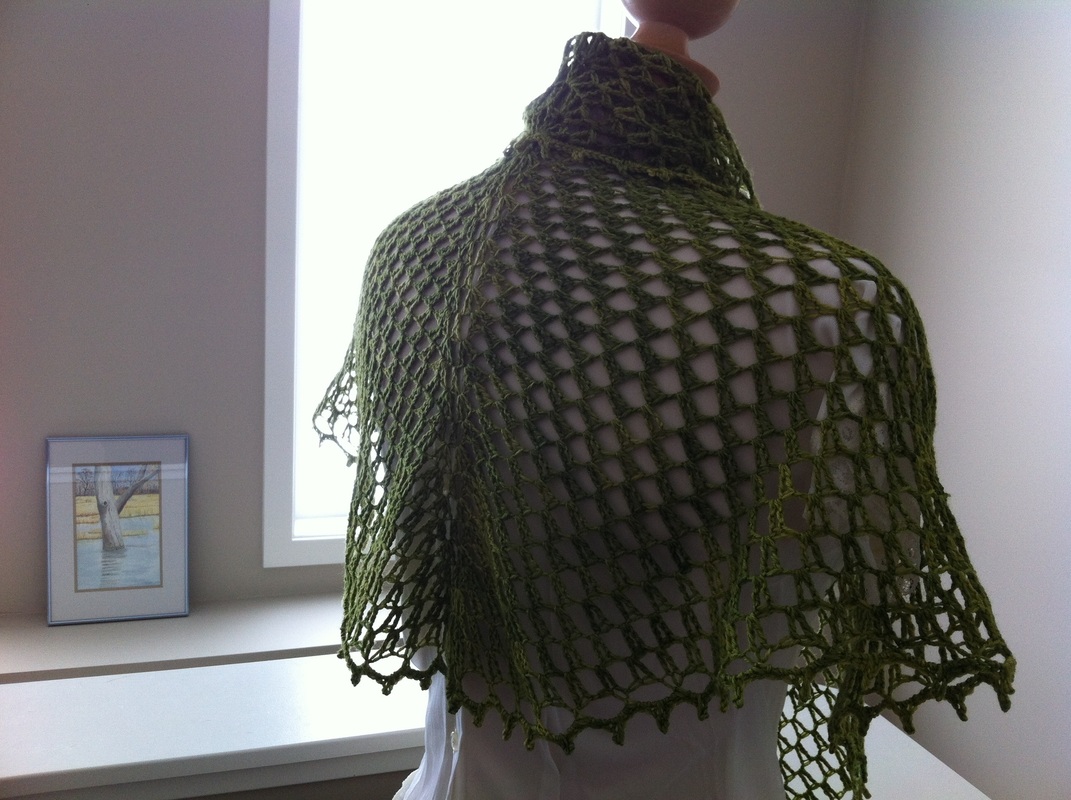
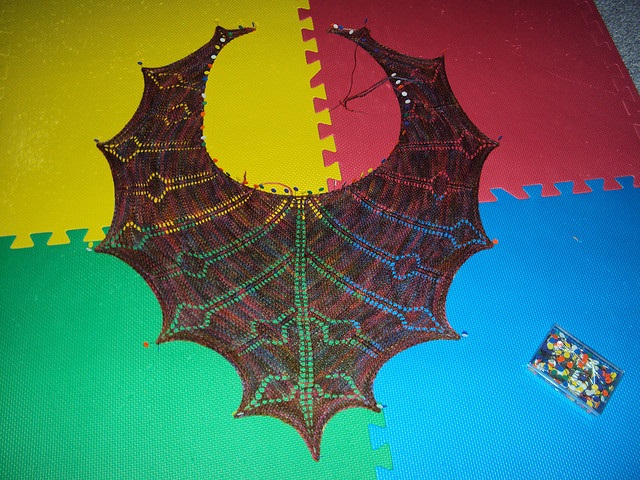
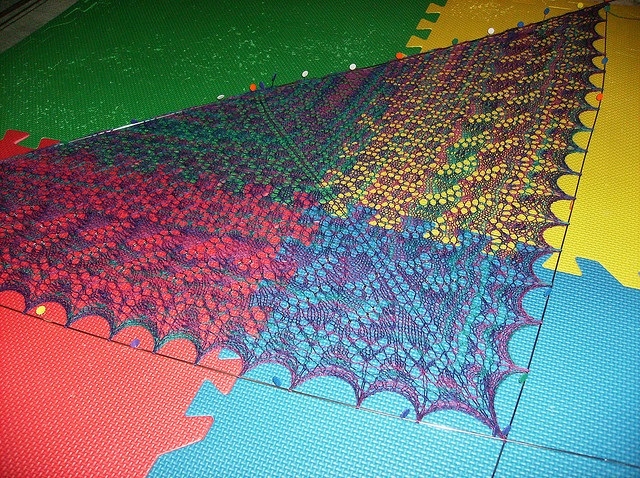
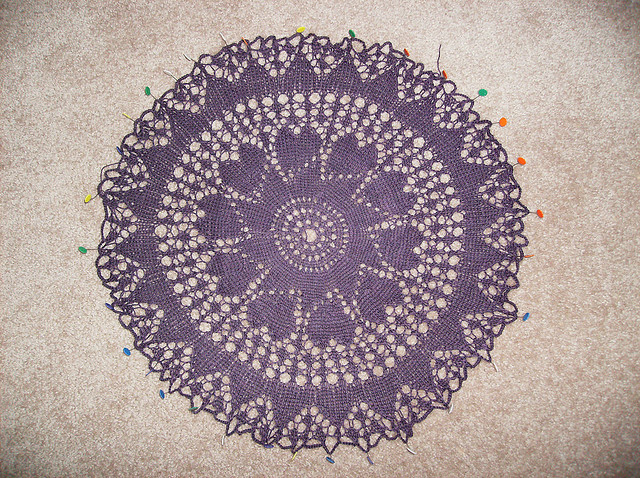
Here are some other lace shawls I have made and blocked using wires and pins. You can also see how I used wires to my benefit depending on the shape of the shawl. I hope you found this tutorial useful. Let me know if you have any tips or tricks when blocking and I'd also love to see your blocked projects :)
4 Comments
|
Follow Me:

Patterns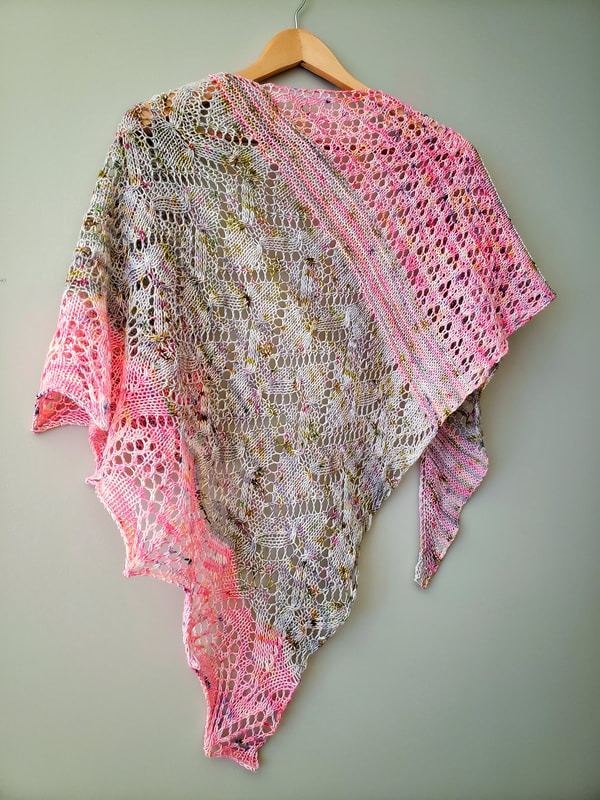
Categories
All
Archives
August 2023
|


 RSS Feed
